


本课程提供了一个广泛的旅程,让学员能够探索创建动态布料模拟、粒子系统及其无缝集成以实现迷人视觉效果的内容。课程的概览包括以下内容:
首先,学员将学习如何使用牛皮纸进行布料设置。这包括制作基础布料设置,对碰撞体几何体进行动画处理以驱动布料的变形,以及利用自定义增长解算器通过删除约束来故意导致布料撕裂。此外,学员还将混合两种牛皮纸模拟,添加风和噪音以增强灵活性和细节。
接下来,课程将过渡到粒子集成。学员将学习如何将粒子的排放源基于已建立的布料结构,并学习先进的插值技术,以确保平滑流畅的粒子发射。课程还将涵盖创建烟雾模拟并利用布料的速度场平流粒子,生成两个不同的粒子层。
在渲染技术方面,课程将介绍如何使用 Megascans 纹理构建布料材质来简化渲染阶段,并为粒子层设置一个简单的着色器,专注于高效且有效的渲染策略。
最后,在 Nuke 合成部分,学员将学习如何将所有元素合并为一个统一的组合。他们将探索一种灵活的方法,将徽标集成到布料上,使其与动画对齐,并利用 UV 坐标将徽标映射到布料上,并利用正常的 AOV 重新照亮几何体。此外,学员还将学习在 Nuke 中为粒子添加鲜艳的颜色,利用自定义渐变以获得最大的适应性。
总的来说,本课程提供了一种全面的实践方法来创建复杂的布料模拟、粒子动力学及其无缝融合,以产生引人注目的视觉效果。学员将深入研究并揭示这些技术的复杂性,以提高他们的视觉特效技能。这个课程将为学员提供一个全面的工具包,让他们能够在视觉特效领域取得成功。
课程时长:2小时47分钟 1920X1080 mp4 语言:英语+中英文字幕(云桥网络 机译)含课程文件
课程目录:
00 预告片
01 概述
02 地理和牛皮纸设置
03 碰撞设置
04 生长设置
05 生长年龄和噪声
06 生长完成
07 删除约束
08 清理几何
09 第二次模拟
10 混合模拟
11 粒子设置
12 插值源
13 烟雾模拟
14 粒子平流
15 附加粒子
16 渲染布料
17 渲染粒子
18 标志和布料
19 合成粒子

Welcome to a new Houdini tutorial, Burning Cloth Tear
Vellum & Attribute Growth
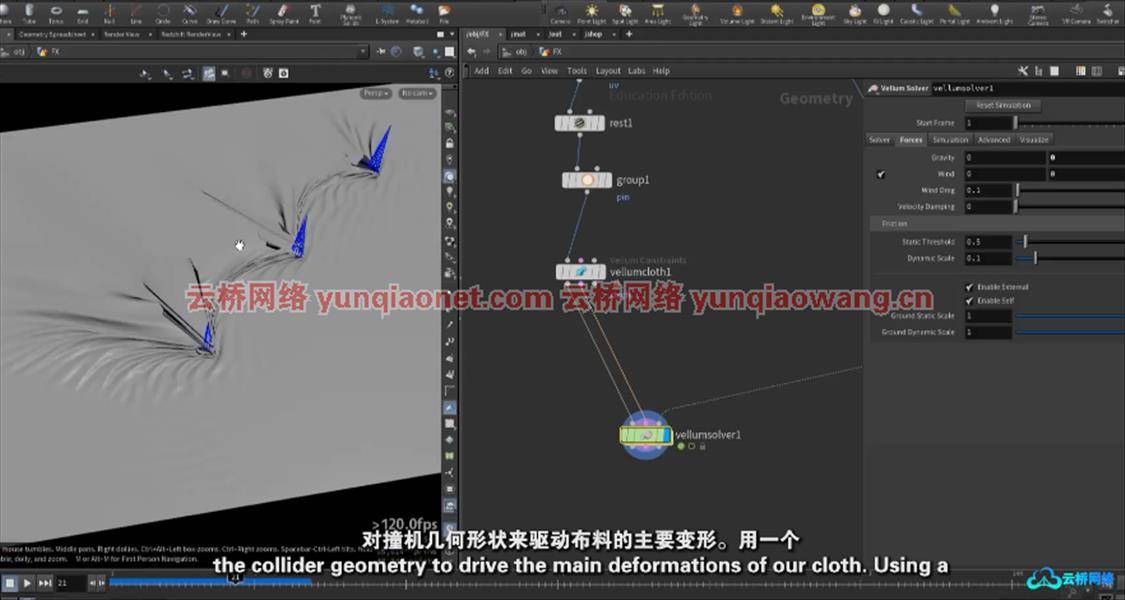
We will start this course by creating a simple cloth setup using Vellum.
We will create and animate the collider geometry to drive the main deformations of our cloth.
Using a custom growth solver we will be able to manually delete constraints from the vellum object, causing the cloth to tear.
To have more flexibility, we will create a separate vellum simulation with wind and noise, which we will combine with our main tearing simulation. So we will be essentially layering two separate vellum simulations on top of each other.
Particles
After we cleanup the geometry, we move on to particles.
We will base our particle emission source on the cloth that we created.
Here we will talk about how to manually interpolate our particle source to create a smooth result without stepping issues.
We will create a smoke simulation first, and then advect our particles using the velocity field, and we will create 2 different layers of particles.
Rendering
In the rendering section, everything will be fairly simple and straight forward. We will create a cloth material using megascans texture, and set up a simple shader for our particle layers.
Nuke / Compositing
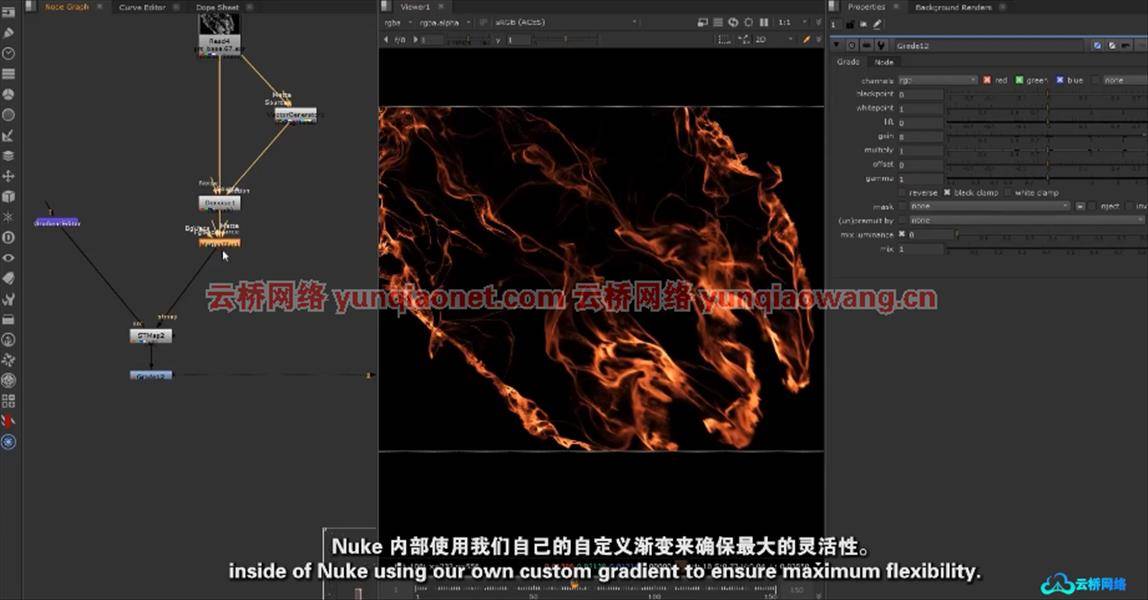
Inside Nuke we bring everything together. In this section I will show you a very flexible way to add a logo to our cloth, that follows the animation.
We will map the logo using the UV coordinates from our cloth, and also show you how to use the normals AOV in order to re-light our geometry.
We are going to color the particles directly inside of Nuke, using our own custom gradient, to ensure maximum flexiblity.
So I hope you will enjoy this course and let’s get started!
Downloads
Everything needed to complete this course is included in the downloads (except a couple of megascans textures).
The downloads also includes the completed project file (ver 19.0.657)
1、登录后,打赏30元成为VIP会员,全站资源免费获取!
2、资源默认为百度网盘链接,请用浏览器打开输入提取码不要有多余空格,如无法获取 请联系微信 yunqiaonet 补发。
3、分卷压缩包资源 需全部下载后解压第一个压缩包即可,下载过程不要强制中断 建议用winrar解压或360解压缩软件解压!
4、云桥网络平台所发布资源仅供用户自学自用,用户需以学习为目的,按需下载,严禁批量采集搬运共享资源等行为,望知悉!!!
5、云桥网络-CG数字艺术学习与资源分享平台,感谢您的关注与支持!

评论(0)