

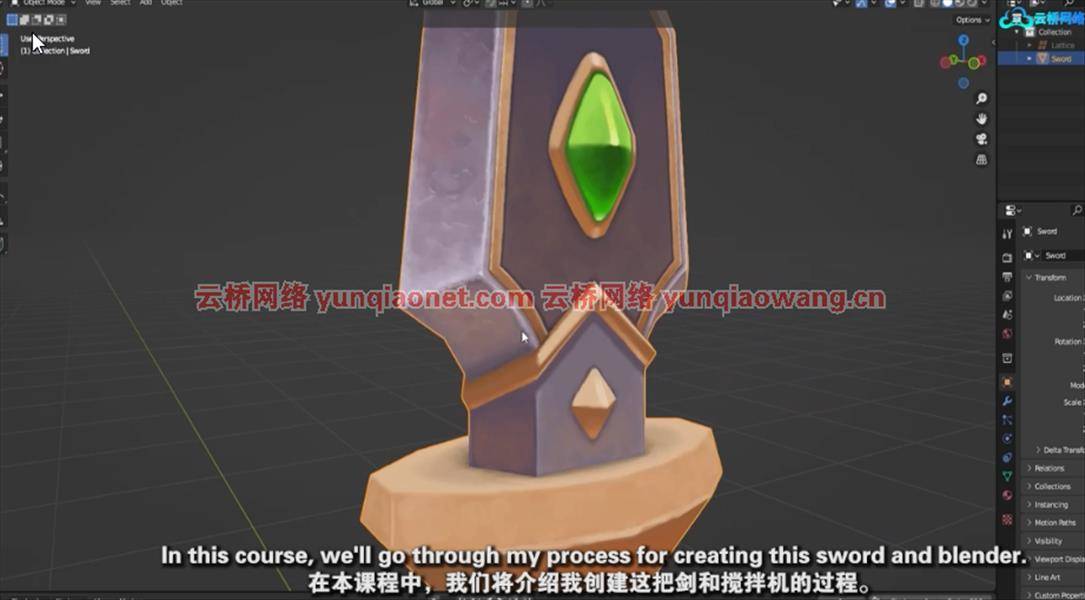
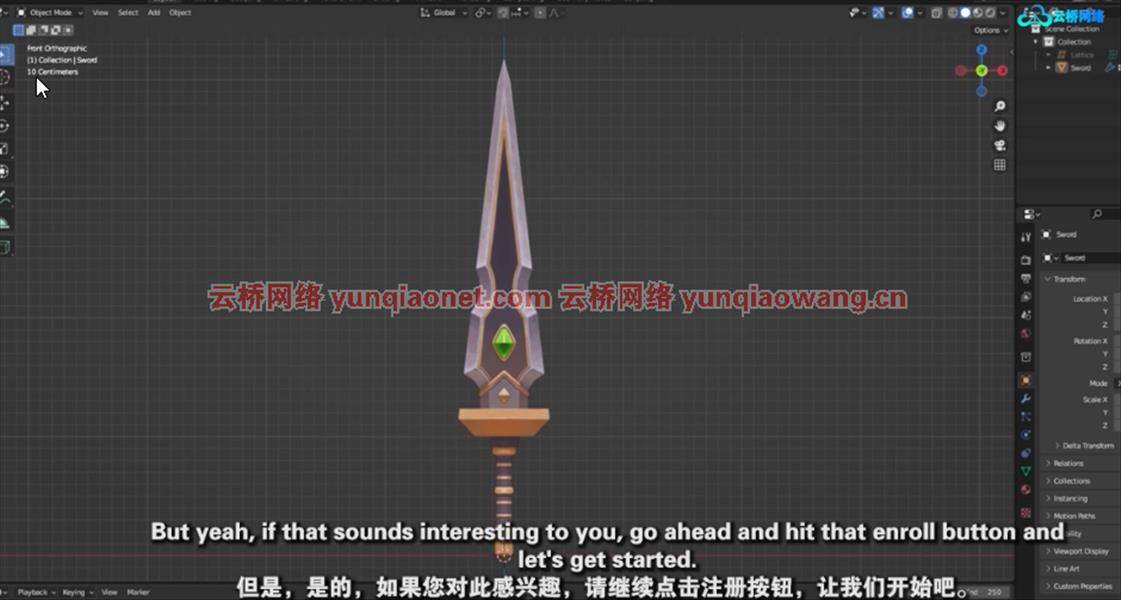
了解如何在您的Blender模型上绘制自定义风格化的纹理,欢迎来到我的blender手绘纹理课程!并不是所有的3d艺术家都具备2d艺术技能来完成游戏和电影中常见的风格化手绘纹理。所以我开设了这门课程,试图帮助弥合这一差距。我希望在完成这门课程后,你能更好地理解如何思考和利用色彩,并在绘画时建立自信。尽管如此,要变得更好还是需要练习!Hand-Painted Texturing In Blender
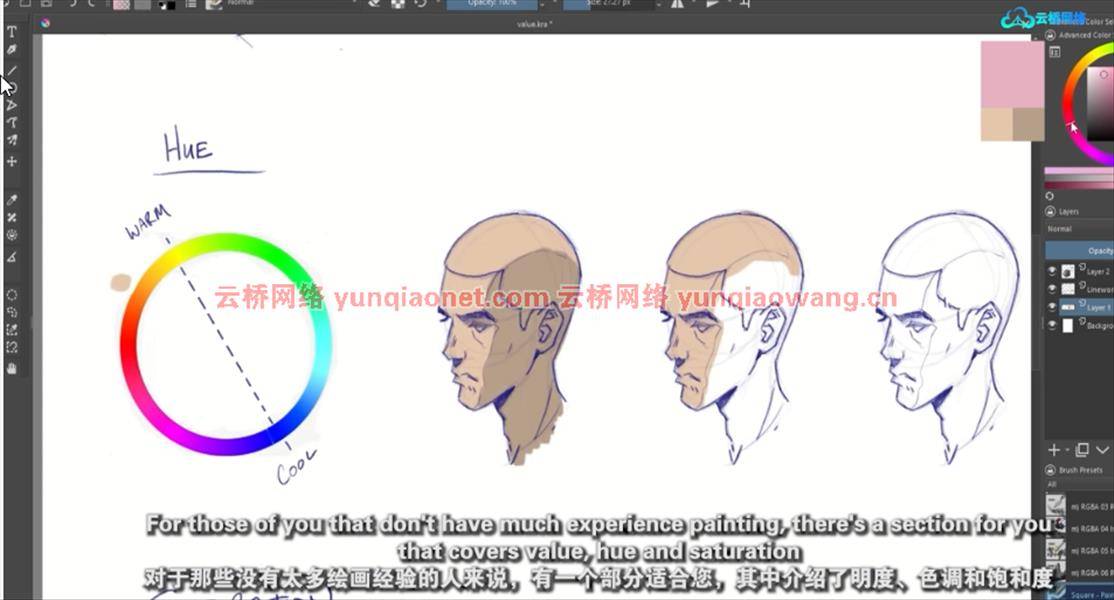
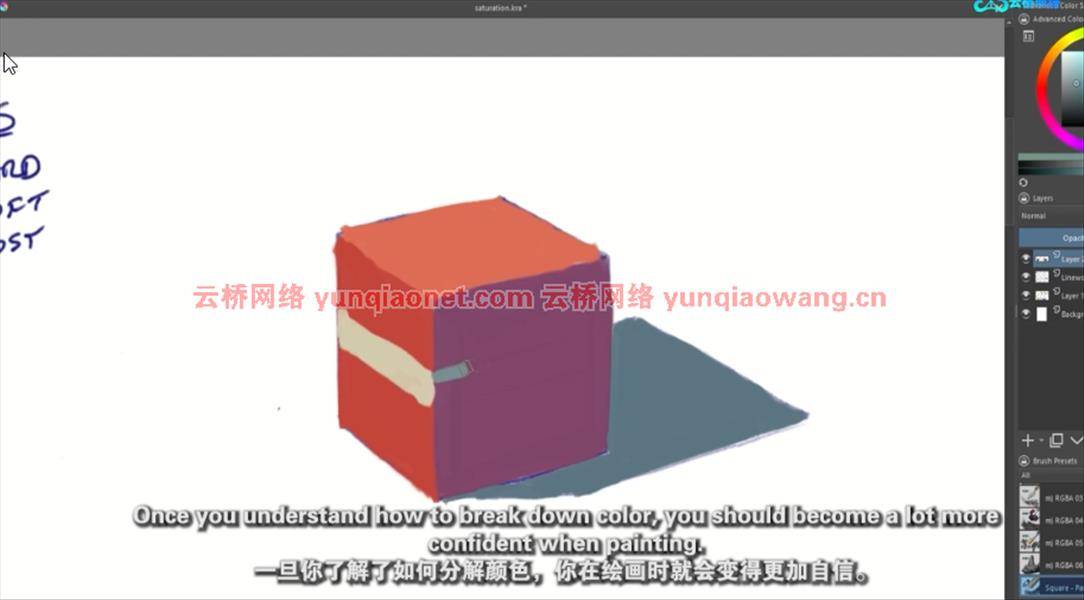
本课程涵盖的内容:建模我们要处理的前几个部分:剑的建模。我们会保持低调。没有法律禁止使用较高的聚乙烯,但是传统上较低的聚乙烯材料会得到手绘的外观。虽然,我必须承认,我不知道这是什么原因。UV展开UV展开和编辑是下一步。这通常是3d艺术家的痛处。这真的不是很有趣。幸运的是,有了一个插件(TexTools ),事情就简单多了。此外,低聚的东西往往更容易解开。绘画基础对那些很少或没有绘画经验的人来说,有一个绘画速成班。我解释什么是价值,色调和饱和度,以及你如何使用它们。然后,我们将完成一个绘画演示,希望能把这一切都包在一起。纹理绘制从那里我们将完成剑的绘制。我试着使用最少的编辑,但是有一些,因为绘画可能非常耗时,我不想浪费你的时间。
MP4 |视频:h264,1280×720 |语言:英语+中英文字幕(云桥网络 机译)|课程时长:2小时 27分钟
该课程适用于中级到高级blender用户以及3D艺术家希望将他们的技能扩展到2D领域
你会学到什么
用绘画建立自信
如何从参考图像创建3d模型
如何准备3d模型进行纹理处理(UV编辑)
如何有效地查看和使用值、色调和饱和度
要求
使用blender的基本舒适度。
图形平板强烈推荐!
画画不是要求!
课程概要:
第1部分:创建模型
第一讲简介
第二讲刀锋
第三讲交叉保护
第四讲处理
第2部分:为纹理准备模型
第5讲紫外线展开
第6讲UV编辑第1部分
第7讲UV编辑第2部分
第三部分:绘画基础速成班
第8讲理解价值观
第9讲了解色调
第10讲理解饱和度
第11讲快速绘画演示
第4部分:纹理绘制模型
第12讲设置绘画搅拌机
第13讲基本色块
第14讲第二遍第1部分
第15讲第二遍第2部分
第十六讲模型修正!
第17讲宝石抛光通行证
第18讲叶片抛光通过
第19讲处理抛光通行证
第20讲结束语
Learn How to Paint Custom Stylized Textures on your Blender Models
What you’ll learn
Build confidence with painting
How to create a 3d model from a reference image
How to prepare the 3d model for texturing (UV Editing)
How to see and use Value, Hue, and Saturation effectively
Requirements
Basic level of comfort using Blender.
Graphics tablet strongly recommended!
Painting is NOT a requirement!
Description
Welcome to my course on Hand-Painted Texturing in Blender!Not all 3d artists have the 2d art skills necessary to pull off stylized hand-painted textures often seen in games and sometimes film. So I created this course to try and help bridge the gap. My hope is that upon completion of this course you have a greater understanding of how to think and utilize color and build confidence while painting. Getting good at it will still take practice, though!What this course covers:ModelingThe first few sections we tackle modeling the sword. We’ll keep things low poly. There is no law against going higher poly, but traditionally lower poly stuff is what gets the hand-painted look. Although, I must admit, I don’t know what the reason for this is.UV UnwrappingUV Unwrapping and Editing is up next. This is usually a sore spot for 3d artists out there. It really isn’t very much fun. Fortunately, with an addon (TexTools) it eases it a little. Plus lower poly stuff tends to be a bit easier to unwrap.Painting FundamentalsFor the people that have little to no experience painting there is a crash course on painting. I explain what value, hue, and saturation are, and how you use them. Then we’ll finish with a painting demo to hopefully wrap it all together.Texture PaintingFrom there we’ll finish off painting the sword. I tried to use minimal editing, but there is some because painting can be very time consuming and I didn’t want to waste your time.
Overview
Section 1: Creating the Model
Lecture 1 Introduction
Lecture 2 Blade
Lecture 3 Crossguard
Lecture 4 Handle
Section 2: Preparing the Model for Texturing
Lecture 5 UV Unwrap
Lecture 6 UV Edit Part 1
Lecture 7 UV Edit Part 2
Section 3: Fundamentals of Painting Crash Course
Lecture 8 Understanding Values
Lecture 9 Understanding Hue
Lecture 10 Understanding Saturation
Lecture 11 Quick Painting Demonstration
Section 4: Texture Painting the Model
Lecture 12 Setting Up Blender for Painting
Lecture 13 Base Color Block In
Lecture 14 Second Pass Part 1
Lecture 15 Second Pass Part 2
Lecture 16 Model Corrections!
Lecture 17 Gem Stone Polishing Pass
Lecture 18 Blade Polishing Pass
Lecture 19 Handle Polishing Pass
Lecture 20 Closing Thoughts
Intermediate to Advanced Blender users.,3D artists looking to expand their skills into the realm of 2D
1、登录后,打赏30元成为VIP会员,全站资源免费获取!
2、资源默认为百度网盘链接,请用浏览器打开输入提取码不要有多余空格,如无法获取 请联系微信 yunqiaonet 补发。
3、分卷压缩包资源 需全部下载后解压第一个压缩包即可,下载过程不要强制中断 建议用winrar解压或360解压缩软件解压!
4、云桥网络平台所发布资源仅供用户自学自用,用户需以学习为目的,按需下载,严禁批量采集搬运共享资源等行为,望知悉!!!
5、云桥网络-CG数字艺术学习与资源分享平台,感谢您的赞赏与支持!平台所收取打赏费用仅作为平台服务器租赁及人员维护资金 费用不为素材本身费用,望理解知悉!

评论(0)