Release date:2021
Author:Nicolás Robertson
Skill level:Beginner
Language:Spanish
Exercise files:Yes
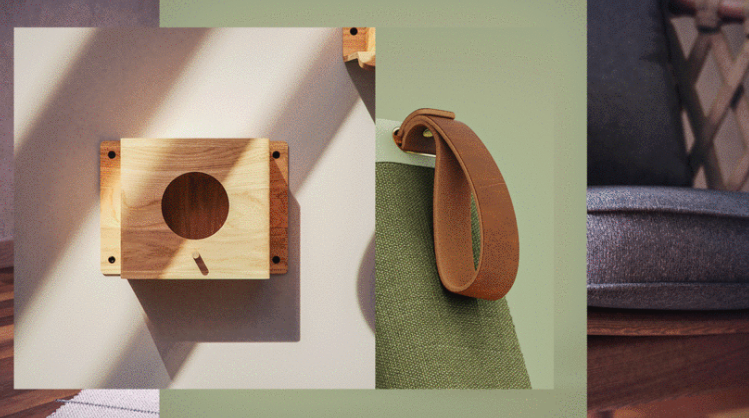
Learn to create realistic visuals of objects from scratch before they are manufactured. The design and shape of an object not only have they power to communicate–they also have the ability to solve everyday problems. Industrial designer Nicolás Robertson is a firm believer that 3D design is the key to improving the creation process by allowing clients to visualize products before manufacture.
Learn how to create photorealistic renders of any 3D object using KeyShot. By the end of this course, you’ll know how to design objects from your imagination and give them a realistic look by applying light, other materials and retouching techniques.
 realistic look by applying light, other materials and retouching techniques
Begin the course by getting to know your teacher, Nicolás Robertson. He tells you a bit about himself, what he does, and why he believes that 3D visualization is essential for design and architecture. He also shares some of his biggest influences and gives you an overview of the final project.
Review the key concepts of photorealism and see a few examples of simple studio lighting systems. Go over the basic principles of different types of materials and compile reference images for your furniture mood board.
Now it’s time to get to work in KeyShot. Start by importing your model and then get familiar with the program by exploring the interface and its main features. Learn how to assign materials to objects, add lighting to your scene, and create a set of cameras. Nicolás explains how each of these elements affects the look and composition of your image. Finally, adjust the settings of your file and prepare it for rending.
Now that you’ve covered the basics, explore different ways to make your scene more realistic, from adding new elements, like walls or objects, to advanced lighting and material techniques. Then, learn how to optimize the rendering process
Wrap up the course by adding the final touches on your project. Much like how professional photographers edit their photos to give them a signature style, 3D artists can enhance their work in post-production. Nicolás shows you a series of tricks in both KeyShot and Photoshop to polish your work and give it a professional look.
01. Introduction 01. Presentation 02. Influences 03. What Will We Do in The Course
02. Preparations and Technical Terms 01. Principles of Photorealism 02. PBR Materials and HDRI Lighting 03. Search for Inspiration and Mood Board
03. Let’s Do It! 01. Finally in KeyShot! 02. Material Assignment 1 03. Material Assignment 2 04. Basic Lighting 05. Cameras 06. Rendering
04. Dressing the Scene 01. Adding Context 1 02. Adding Context 2 03. Advanced Lighting 04. Physical Lighting 05. Advanced Material Creation 06. Render Process Optimization
05. The Final Details 01. Postproduction in KeyShot 02. Postproduction in Photoshop
06. Final Project 01. Final Project
[Domestika] Photorealistic Product Rendering with KeyShot (2021) with Nicolas Robertson.7z [Domestika] Photorealistic Product Rendering with KeyShot (2021) with Nicolas Robertson_Subtitles.7z
 Channel and
  Group
Group
1、登录后,打赏30元成为VIP会员,全站资源免费获取!
2、资源默认为百度网盘链接,请用浏览器打开输入提取码不要有多余空格,如无法获取 请联系微信 yunqiaonet 补发。
3、分卷压缩包资源 需全部下载后解压第一个压缩包即可,下载过程不要强制中断 建议用winrar解压或360解压缩软件解压!
4、云桥网络平台所发布资源仅供用户自学自用,用户需以学习为目的,按需下载,严禁批量采集搬运共享资源等行为,望知悉!!!
5、云桥网络-CG数字艺术学习与资源分享平台,感谢您的关注与支持!


评论(0)