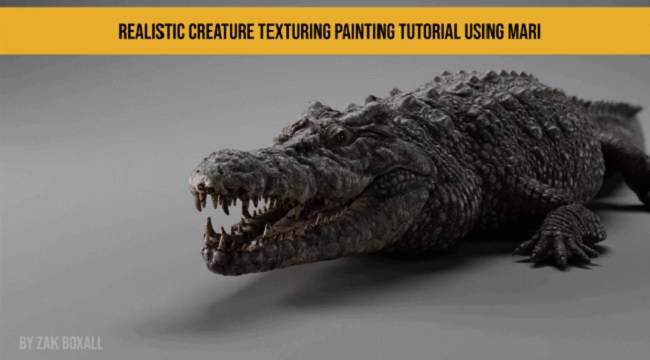
这是一个预先录制的在线纹理课程,每个步骤都被录制并组织成一口大小的章节。从准备纹理模型到从Mari导出最终纹理。
在VFX工业中,没有照片作为参考,几乎不可能得到一项资产,本课程将着重于创建照片般逼真的纹理。我们不会凭空创造这些纹理,我们会在整个过程中参考摄影来给我们方向和灵感。我们将详细讨论如何分解这张照片,并根据您自己的观察构建纹理,以提出我们将如何处理资产的计划。
此外,我们不仅要尝试绘制美学纹理,还要以一种我们能够为任何可能发生的事情做好计划的方式来这样做。这可能是型号变化、UV变化或客户要求。本质上有很好的外观纹理,同时对变化很灵活。
这意味着我们需要以结合技术和艺术技能的正确平衡的心态来处理这一资产。我们将以结构化的方式工作,使用极其强大的节点图,我们将混合程序方法的效率,以建立非破坏性的全面覆盖,确保我们可以即时进行更改,以解决任何更改,但能够艺术指导每一层的定制油漆工作。
这将确保你在完成课程时,不仅掌握如何使用软件的技术技能,而且有信心将你所学的一切用于解决你自己的杀手级产品,即行业现成的showreel产品。
大小解压后:12.2G 含课程文件 1920X1080 mp4 语言:英语+中英文字幕(云桥网络机译)
内容:(教程+需要的文件)
第1部分–生成空腔图
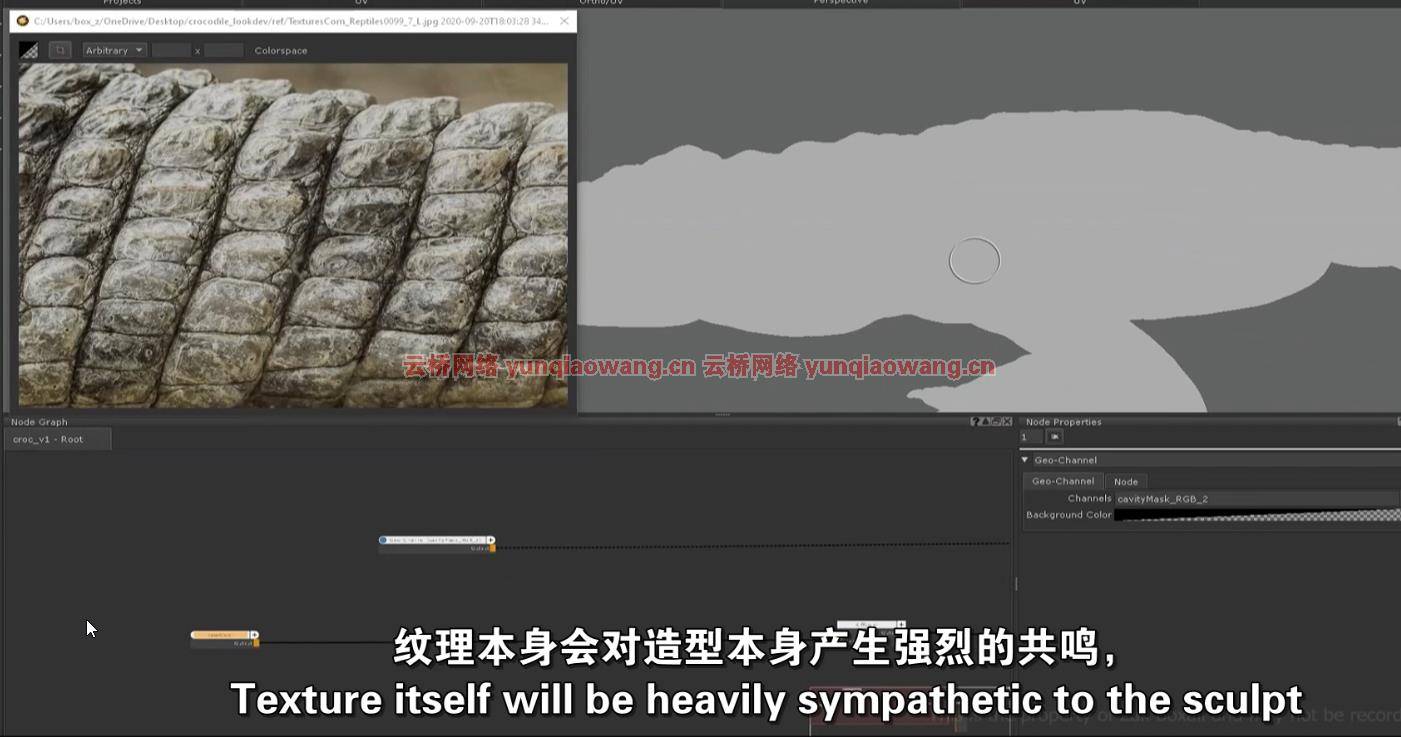
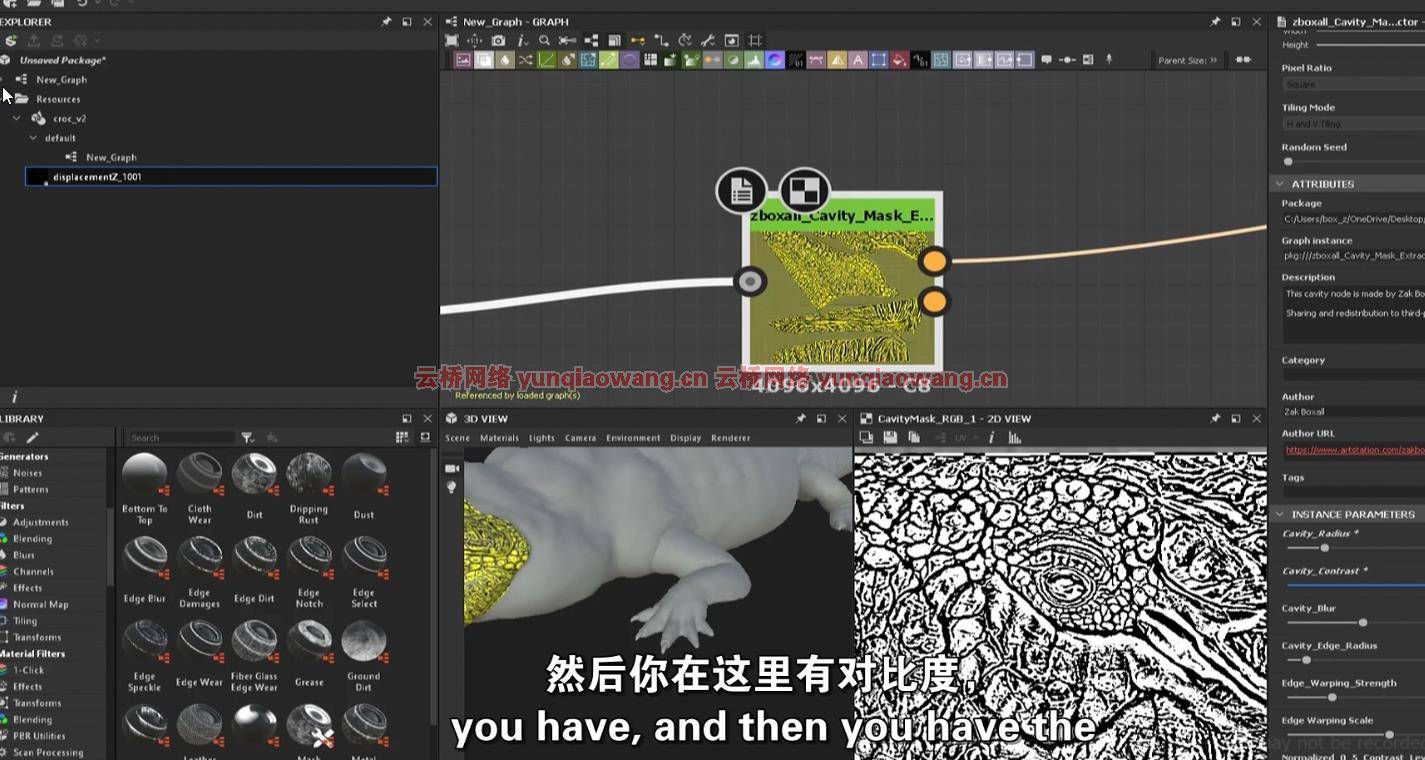
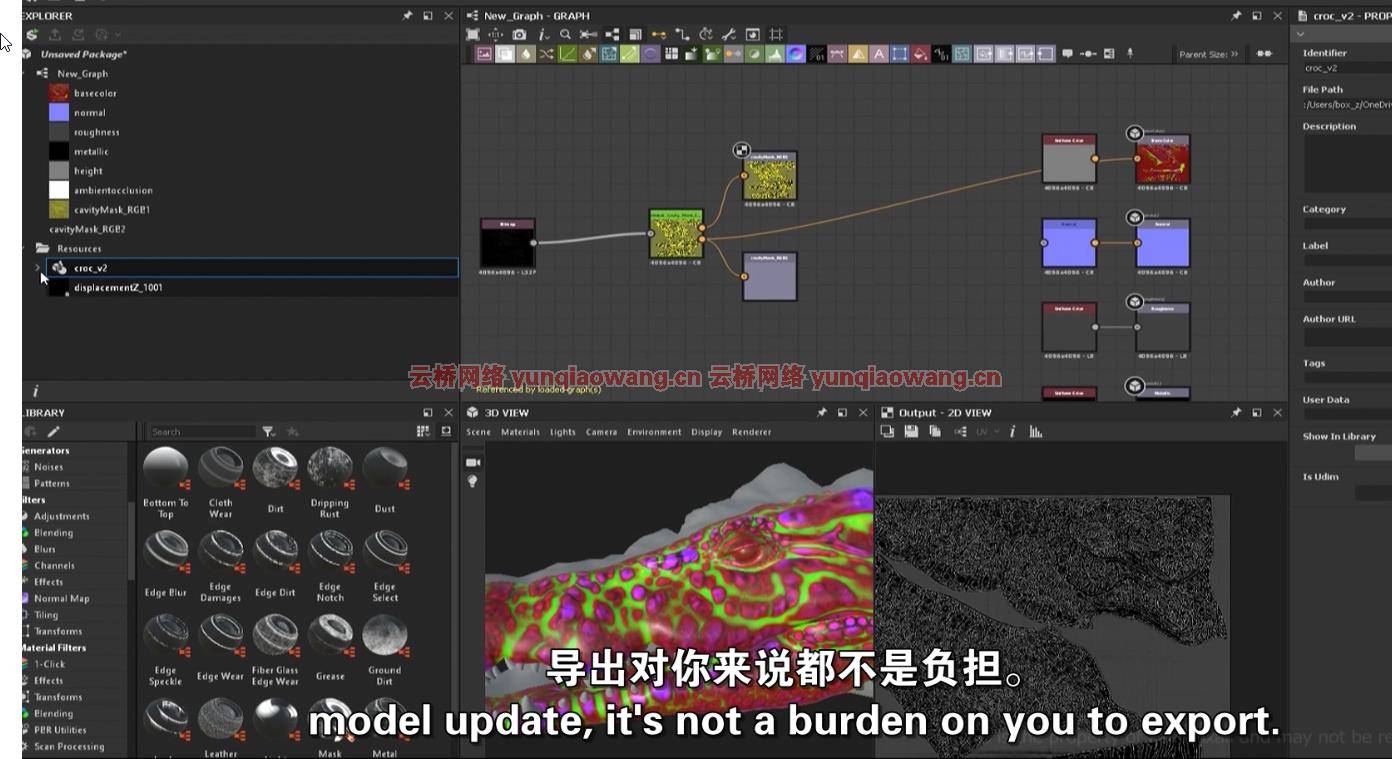
将提供Substance designer空腔贴图生成器,我们将导入我们的置换贴图并生成各种遮罩——这对添加纹理变化非常有用。
第2部分-设置Mari,介绍Mari并锁定初始颜色。
我们将首次打开Mari并浏览:
航行
设置ACES工作色彩空间
界面,
绘画缓冲术语、分辨率和位深度
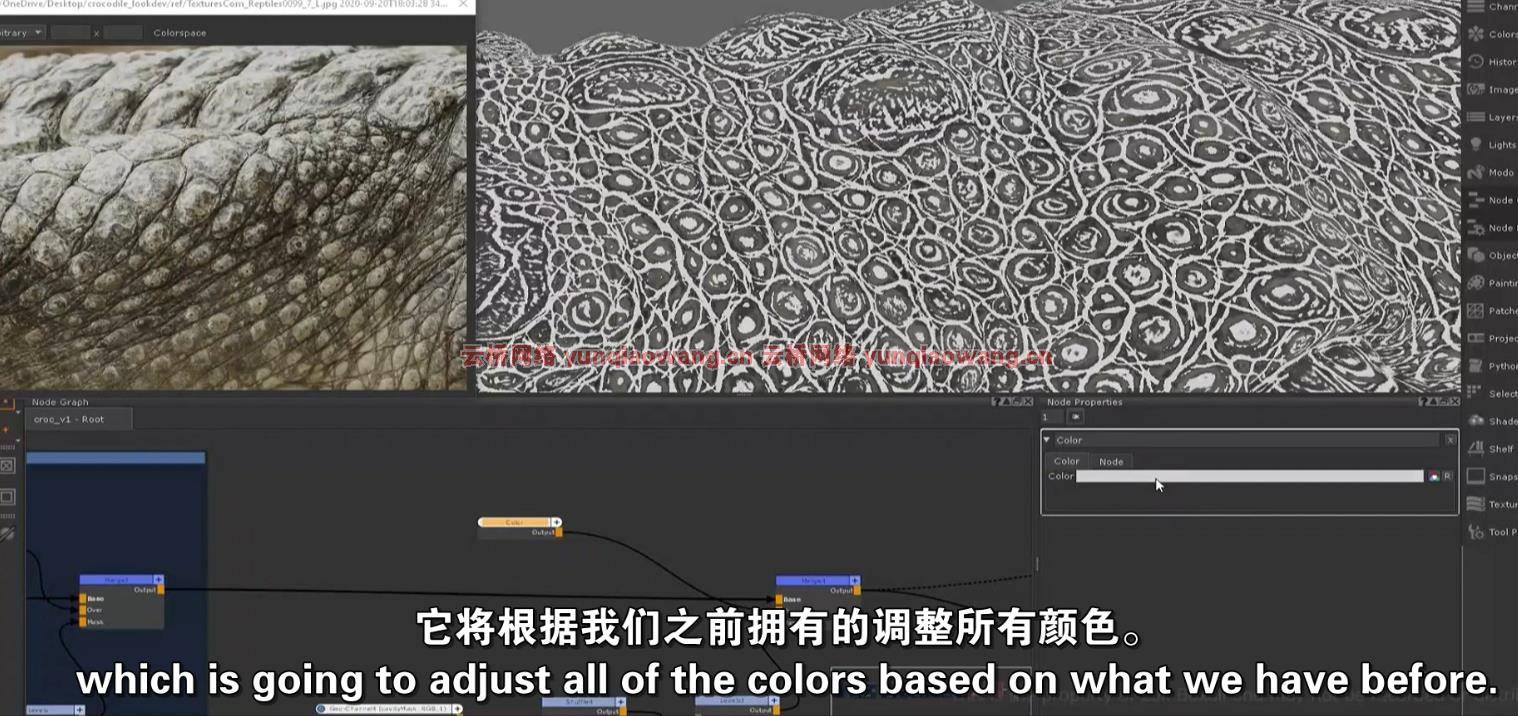
节点图简介
使用地理通道导入实用地图
阻挡初始颜色
第3部分–添加覆盖层并绘制大比例变化
我们将进口我的表面缺陷(将提供使用的地图)和瓷砖微妙,自然的变化。
我们将手工绘制变化,以确保我们有大规模的变化。
第4部分-绘制嘴巴/黄色皮肤纹理
我们将创造一个令人愉快的嘴部纹理,我们将引入我们的腔口罩微妙的变化。并将绘制额外的颜色变化,以配合我们的照片参考。
我们将专注于创建一个有趣的面具,这将用于揭示黄色皮肤层。我们将混合我的表面瑕疵包中的空腔贴图和垃圾纹理,以添加自然变化,这也是对模型的同情。
第5部分——绘制眼睛纹理
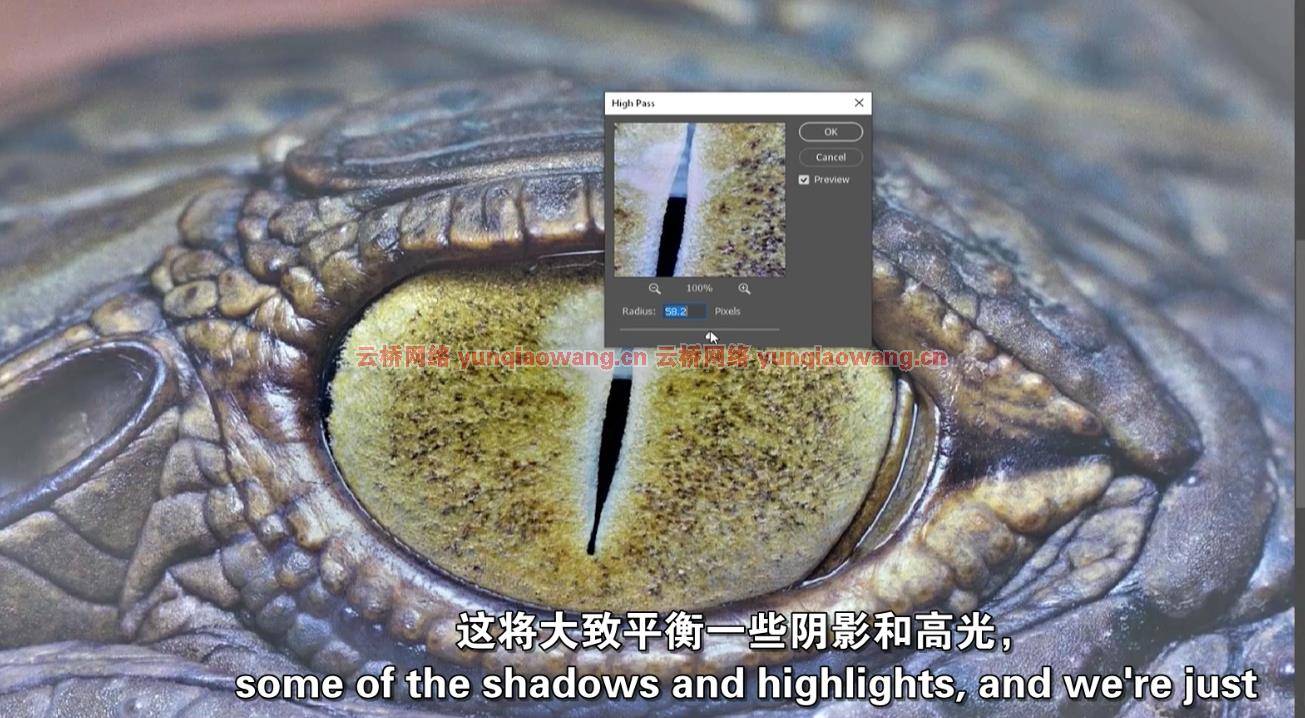
我们会把网上的参考资料带入Photoshop,准备投射到模型上。
然后,我们将调整颜色,以符合我们想要的样子+油漆进一步适应角色的样子。
第6部分–绘制牙齿纹理
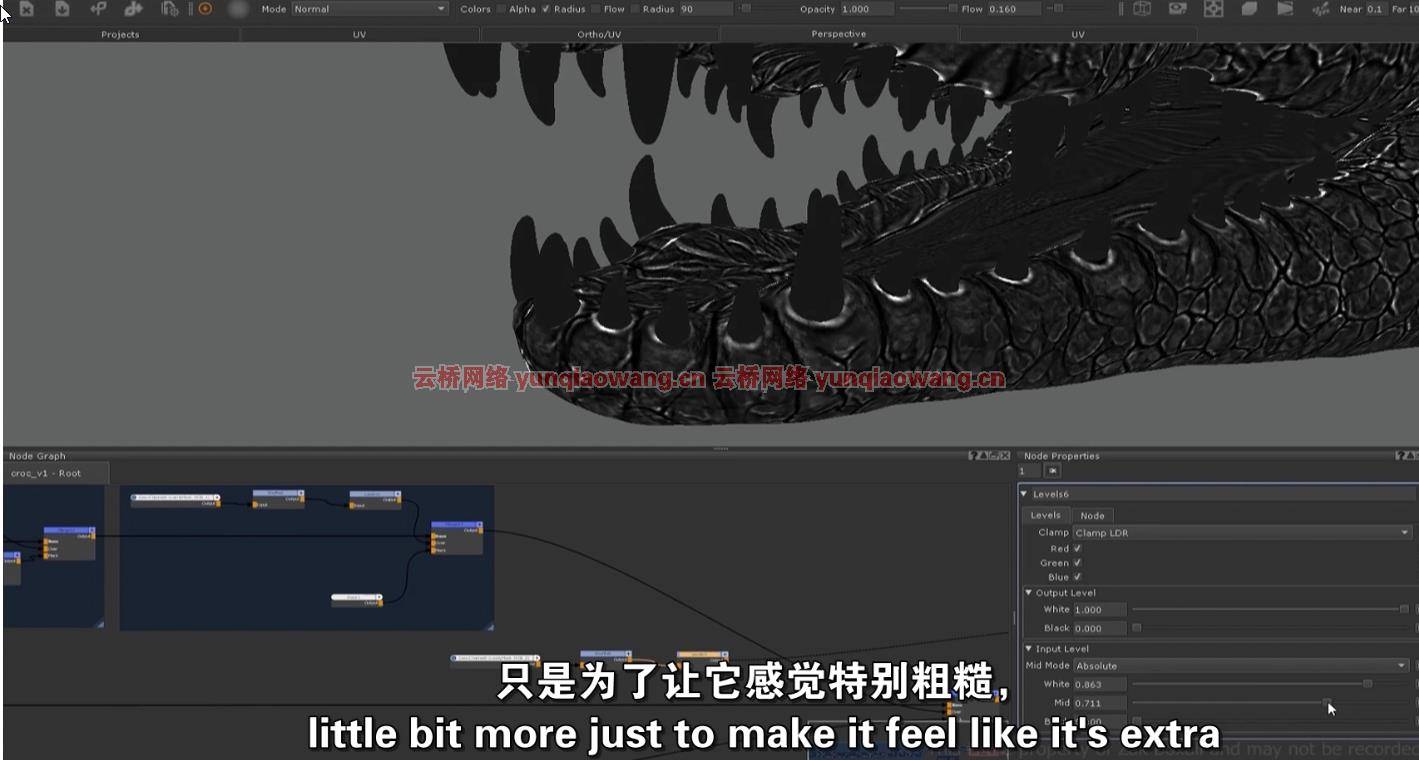
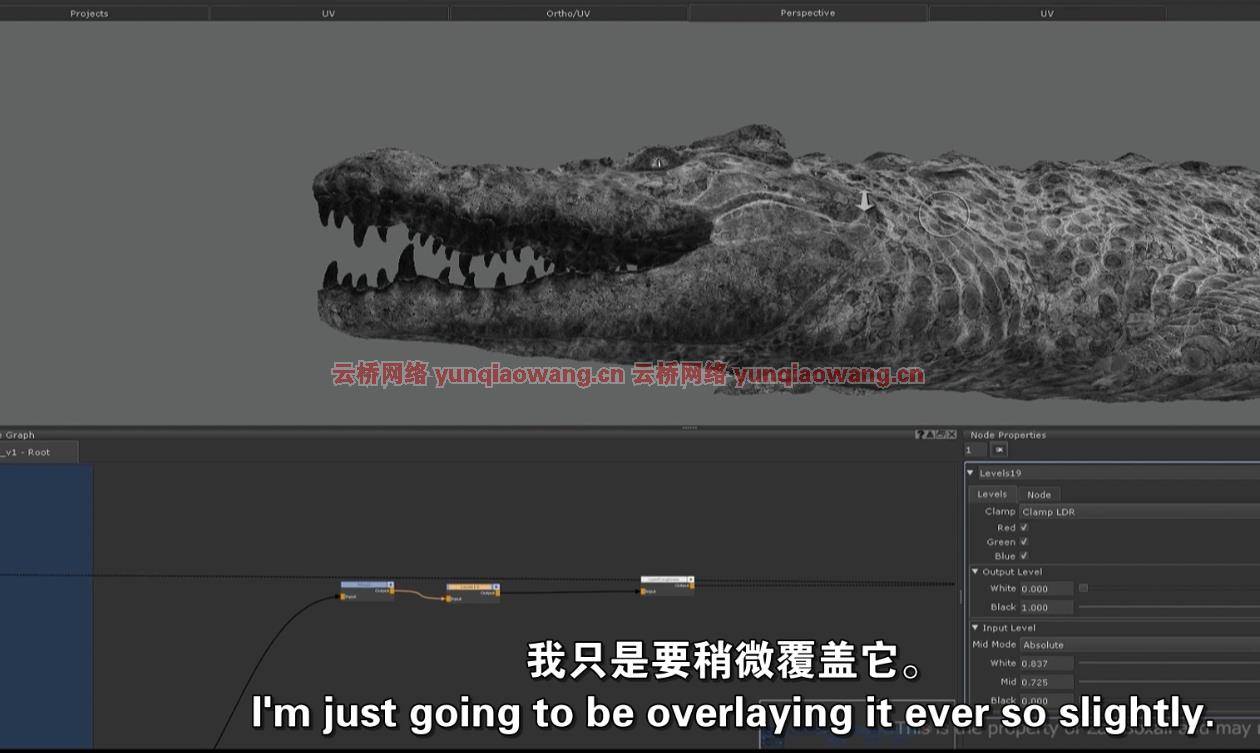
我们将把照片投射到牙齿上,并进一步绘制面具,以增加视觉趣味+额外的层次,如干血、腐烂的牙根和微妙的变化。
第7部分——喷涂钙积聚物
我们将层叠不同频率的钙沉积物,在脸部周围添加经典的鳄鱼“点”,并在身体各处添加大量硬壳,以产生一种历史感,从而销售这条鳄鱼在盐水中度过了很长时间的错觉。
第8部分——绘制防尘口罩
我们将导入自定义的污垢和灰尘预设,这些是专门创建来合并我的表面缺陷包垃圾纹理。我们将平衡污垢/灰尘水平到一个合适的水平,然后我们将自定义油漆区域,以获得我们想要的外观。
第9部分-绘制区域遮罩
我们将绘制我们想要隔离的区域的遮罩,以便在外观开发中进行进一步控制。
第10部分——绘制区域面罩——钙积聚
我们将层叠不同频率的钙沉积物,以添加经典的鳄鱼纹。
第11部分——绘制区域面罩——牙齿
我们将从为牙齿添加颜色开始制作面具,并准备出口,以进一步控制外观的发展。
第12部分——绘制镜面粗糙度和导出纹理
我们将把我们的纹理平衡到一个可以在外观开发中混合的范围内。
我们将使用导出管理器导出所有纹理。
This is a pre-recorded online texturing course, with each step recorded and structured into bite size chapters. Going from preparing a model for texturing – through to exporting final textures out of Mari. Gumroad – REALISTIC Creature Texturing Painting Tutorial Using Mari – By Zak Boxall
In the VFX industry it’s almost impossible to be given an asset without photo reference to work towards, and this course will focus on creating photo-realistic textures. We won’t be creating these textures from our head, we’ll be referencing photography though the entire process to give us direction and inspiration. We’ll talk extensively on how to break down this photography and building the textures based on your own observations, to come up with a plan for how we will approach the asset.
Additionally we won’t only be trying to paint aesthetic textures, but doing so in a way where we are able to plan for any eventuality. This could be a model change, UV change or client requests. Essentially have great looking textures, whilst being flexible to changes.
This means that we need to approach this asset with the mindset of incorporating the right balance of technical and artistic skills. We’ll work in a structured way using the incredibly powerful node graph where we will mix the efficiency of procedural methods to establish non-destructive, full coverage to ensure we can make changes on-the-fly to account for any changes, but with the ability to art direct every layer for custom paint work.
This will ensure you finish the course not only with technical skills of how to use the software, but with the confidence to take everything you’ve learnt to tackle your own creatures for that killer, industry ready showreel piece.
Contents: (Tutorial + files needed)
Part 1 – Generating cavity map
Substance designer cavity map generator will be provided, we will import our displacement map and generate a variety of masks – very useful for adding texture variation.
Part 2 – Setting up Mari, intro to Mari and blocking initial colours.
We will open up Mari for the first time and go through:
Navigation
Setting up ACES working colourspace
The interface,
Paint buffer terminology, resolution and bit depth
Introduction to the node graph
Importing utility maps using geo channels
Blocking initial colours
Part 3 – Adding overlays and painting large scale variation
We will import my surface imperfections (Maps used will be provided) and tileables to subtly, natural variation.
We will hand paint variation to ensure we have large scale variety.
Part 4 – Painting mouth/yellow skin textures
We will create a pleasing mouth texture, we will introduce our cavity masks for subtle variation. And will paint additional colour variation to match our photo reference.
We will concentrate on creating an interesting looking mask which will be used to reveal the yellow skin layer. We will mix the cavity map and grunge textures from my surface imperfections pack to add natural variation that’s also sympathetic to the model.
Part 5 – Painting eye textures
We will bring reference from the internet into Photoshop and prepare to project onto the model.
We will then adjust the colours to match the look we want + paint further to fit the look of the character.
Part 6 – Painting teeth textures
We will project photography onto the teeth and paint further masks to add visual interest + extra layers such as dried blood, rotten teeth roots and subtle variation.
Part 7 – Painting calcium buildup
We will layer up different frequencies of calcium deposits to add the classic crocodile ‘dot’s around the face + lots of crusted buildup across the body to give a sense of history to sell the illusion this crocodile has spent a lot of time in salt water.
Part 8 – Painting dirt and dust masks
We will import custom dirt and dust presets, these are specifically created to incorporate grunge textures from my surface imperfections pack. We will balance the dirt/dust levels to a suitable level, and then we will custom paint areas to get the look we want.
Part 9 – Painting area masks
We will paint masks of areas we want to isolate for further control in look development.
Part 10 – Painting area masks – calcium buildup
We will layer up different frequencies of calcium deposits to add the classic crocodile markings.
Part 11 – Painting area masks – teeth
We will take masks we’ve painted from adding colours to the teeth, and prepare for exports for further control in look development.
Part 12 – Painting specular roughness and exporting textures
We will take our textures and balance them into a range that can be mixed in during look development.
We will export all textures using the export manager.
云桥网络 为三维动画制作,游戏开发员、影视特效师等CG艺术家提供视频教程素材资源!
1、登录后,打赏30元成为VIP会员,全站资源免费获取!
2、资源默认为百度网盘链接,请用浏览器打开输入提取码不要有多余空格,如无法获取 请联系微信 yunqiaonet 补发。
3、分卷压缩包资源 需全部下载后解压第一个压缩包即可,下载过程不要强制中断 建议用winrar解压或360解压缩软件解压!
4、云桥网络平台所发布资源仅供用户自学自用,用户需以学习为目的,按需下载,严禁批量采集搬运共享资源等行为,望知悉!!!
5、云桥网络-CG数字艺术学习与资源分享平台,感谢您的赞赏与支持!平台所收取打赏费用仅作为平台服务器租赁及人员维护资金 费用不为素材本身费用,望理解知悉!
6、For users outside China, if Baidu Netdisk is not convenient for downloading files, you can contact WeChat: yunqiaonet to receive a Google Drive download link.


