


时长:1h 13m |。MKV 1280×720,30帧/秒|音频:AAC,48000赫兹|大小:930M 含 dwg文件
语言:英语+中英文字幕(云桥网络 机译)
你需要向你的客户做一个建筑计划演示吗?
你的陪审团需要吗?
当你付出额外的努力时,它总是给你优势。
我是Ruchi Patel,职业是建筑师和设计师。
在这节课中,我将向你展示如何为演示做好设计准备。我将带您进行一步一步的过程:
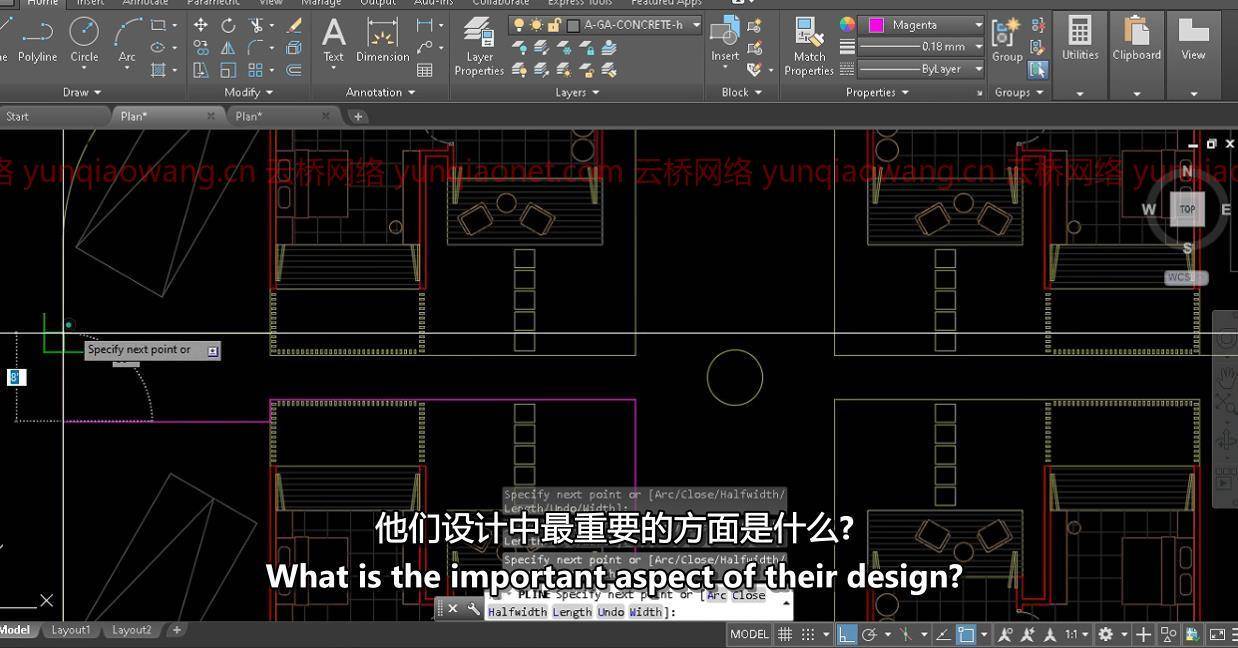
1.在AUTOCAD上准备好计划
2.在Photoshop上导入文件
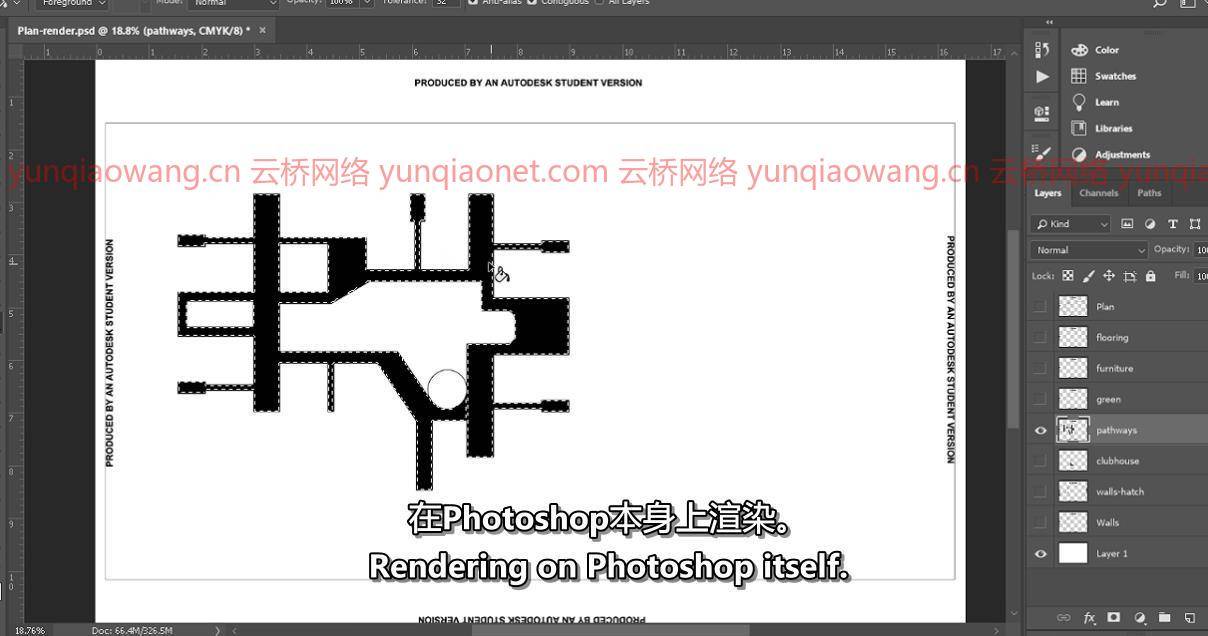
3.添加基本颜色
4.添加效果以赋予设计深度
5.保存文件
6.分配
这门课主要面向建筑学生、建筑师、室内设计师和平面设计师。
教程目录:
01-简介
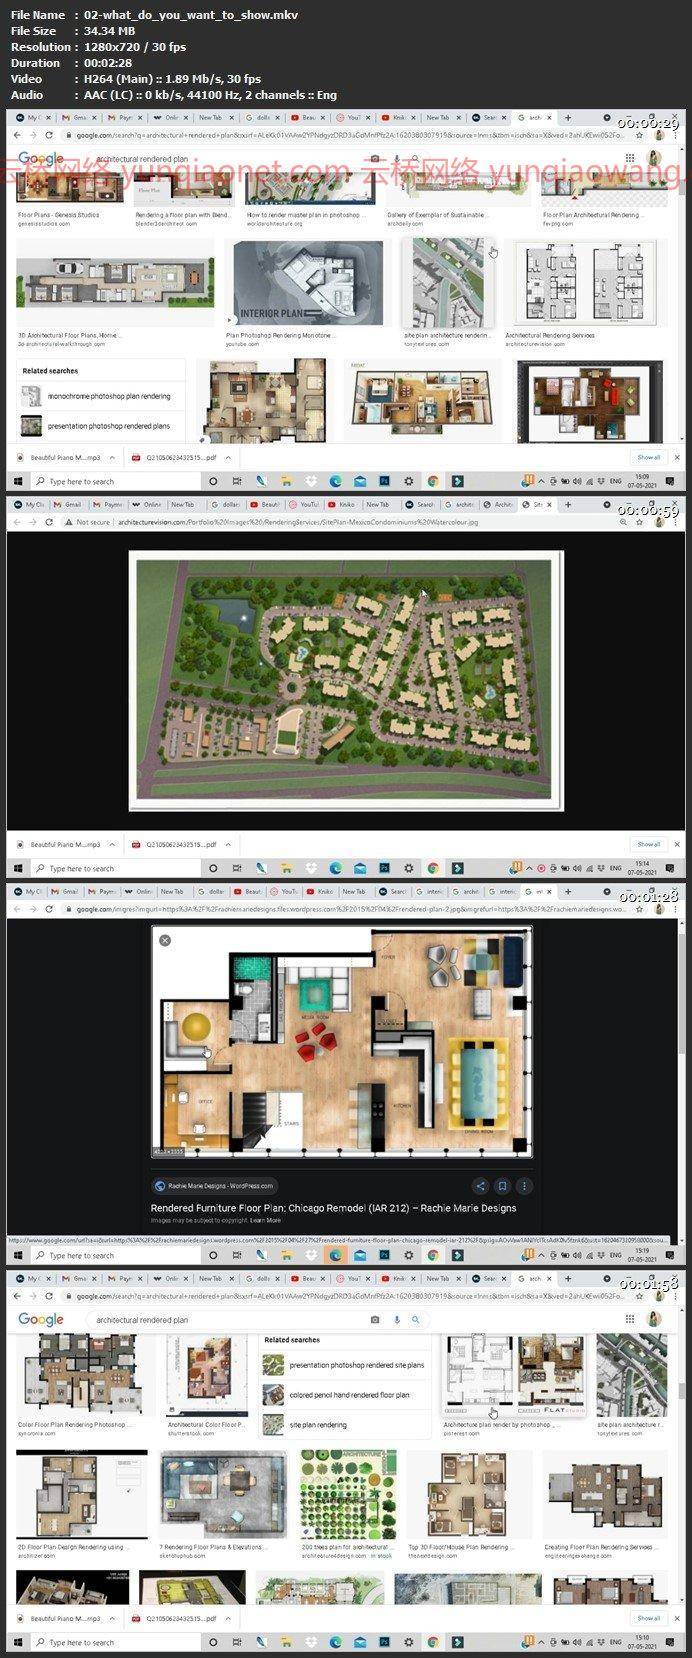
02-你想展示什么
03-在autocad上获取文件就绪
04-绘图_ autocad _文件
05-_导入_文件_到_photoshop
06-添加_基本_颜色
07-水效应
08-草-效果
09-路径-效果
10-坡度屋顶
11层甲板效应
12-添加树
13-保存文件
14-任务
Duration: 1h 13m | .MKV 1280×720, 30 fps(r) | Audio: AAC, 48000 Hz, 2ch | Size: 838 MB
Genre: eLearning | Language: English
Do you need to make an Architectural plan presentation to your client?
Do you need it for your jury?
It always gives you an edge when you put in that extra effort.
I am Ruchi Patel, an architect and designer by profession.
In this class, I am going to show you how you can get your design ready for a presentation. I will take you on a step by step process of :
1. Getting the plan ready on AUTOCAD
2. Importing the files on Photoshop
3. Adding the basic colors
4. Adding effects to give depth to the design
5. Saving the files
6. Assignment
Rendering an AUTOCAD plan on Photoshop
This class is mainly for architecture students, architects, interior designers and graphic designers as well.
01-introduction
02-what_do_you_want_to_show
03-getting_the_file_ready_on_autocad
04-plotting_the_autocad_file
05-_importing_the_file_to_photoshop
06-adding_the_basic_colors
07-water-effects
08-grass-effects
09-pathways-effects
10-gradient-roof
11-deck-effects
12-adding_the_trees
13-saving_the_file
14-the_assignment
云桥网络 为三维动画制作,游戏开发员、影视特效师等CG艺术家提供视频教程素材资源!
1、登录后,打赏30元成为VIP会员,全站资源免费获取!
2、资源默认为百度网盘链接,请用浏览器打开输入提取码不要有多余空格,如无法获取 请联系微信 yunqiaonet 补发。
3、分卷压缩包资源 需全部下载后解压第一个压缩包即可,下载过程不要强制中断 建议用winrar解压或360解压缩软件解压!
4、云桥网络平台所发布资源仅供用户自学自用,用户需以学习为目的,按需下载,严禁批量采集搬运共享资源等行为,望知悉!!!
5、云桥网络-CG数字艺术学习与资源分享平台,感谢您的关注与支持!
