

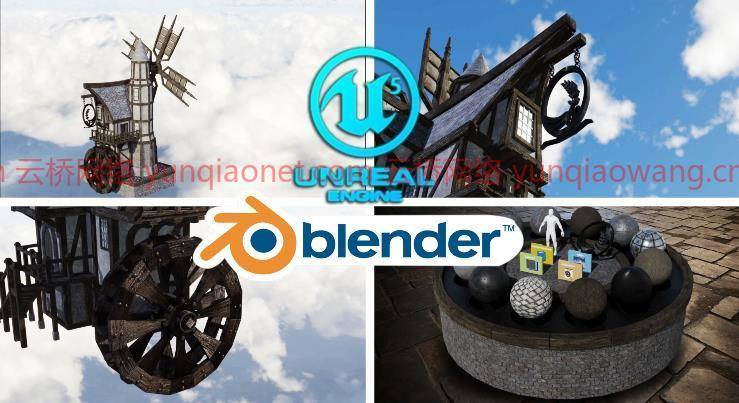
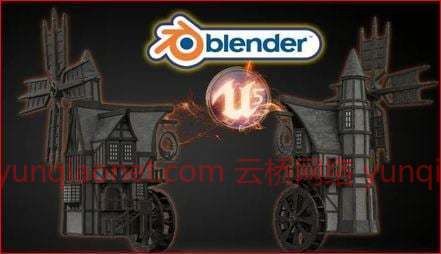
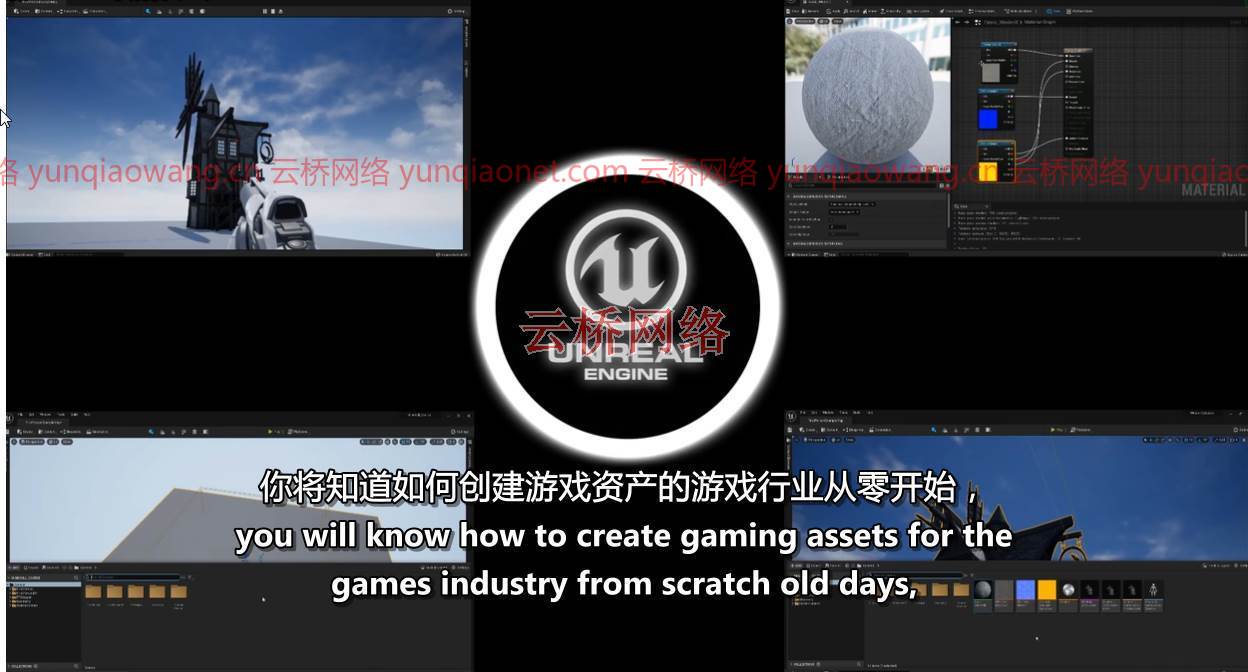
Blender到虚幻引擎5 Blender to Unreal Engine 5
MP4 |视频:h264,1280×720 |音频:AAC,44100 Hz
语言:英语+中英文字幕(云桥网络 机译) |大小:18.4 GB |时长:20h 55m 只有视频课程 无素材文件
你想学习如何建立一个让人想起中世纪的风车模型,并通过将它导入游戏引擎来给这个幻想注入活力吗?
现在,如果我告诉你我在Skillshare上有一门课程可以做到这一点呢?
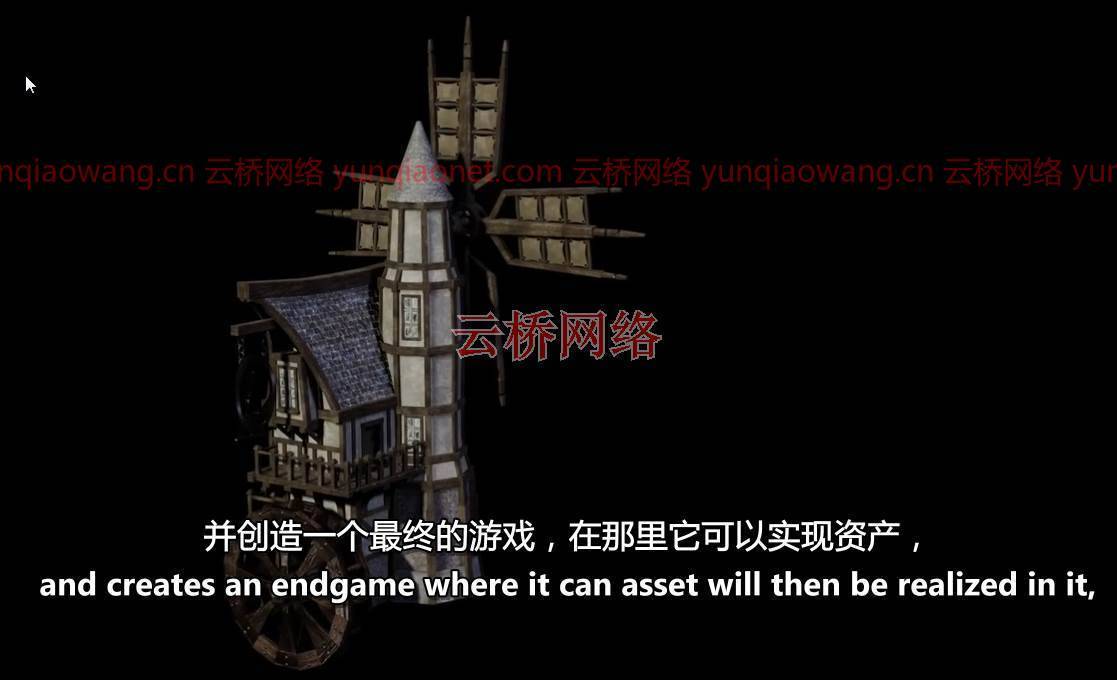
《Blender到虚幻引擎5》将看到你通过3D动画创造一个复杂的中世纪资产,需要充满生命的机械知识。
这门课程将让你接触到21个多小时的3D艺术
学习如何建立一个错综复杂的中世纪风车和水磨混合在108课。
本课程将让您了解专业人士使用的所有技术以及他们如何使用这些技术。虚幻引擎集成也将是本课程学习目标的核心部分。
通过阅读本课程描述,您将发现:
-您想了解3D建模的哪些内容;
-您将通过“Blender到虚幻引擎5”获得什么,以及;
-课程将如何让您的3D技能更上一层楼。
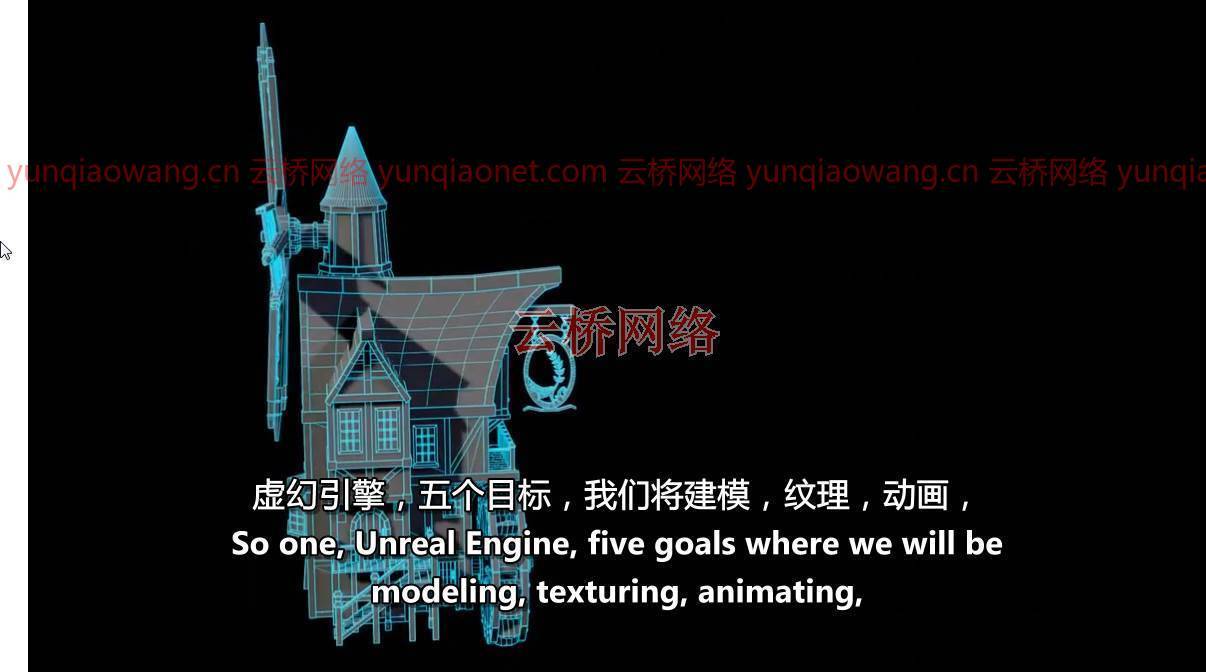
这门课程将是你从概念到游戏引擎的完整路径,这是我们以前没有做过的。
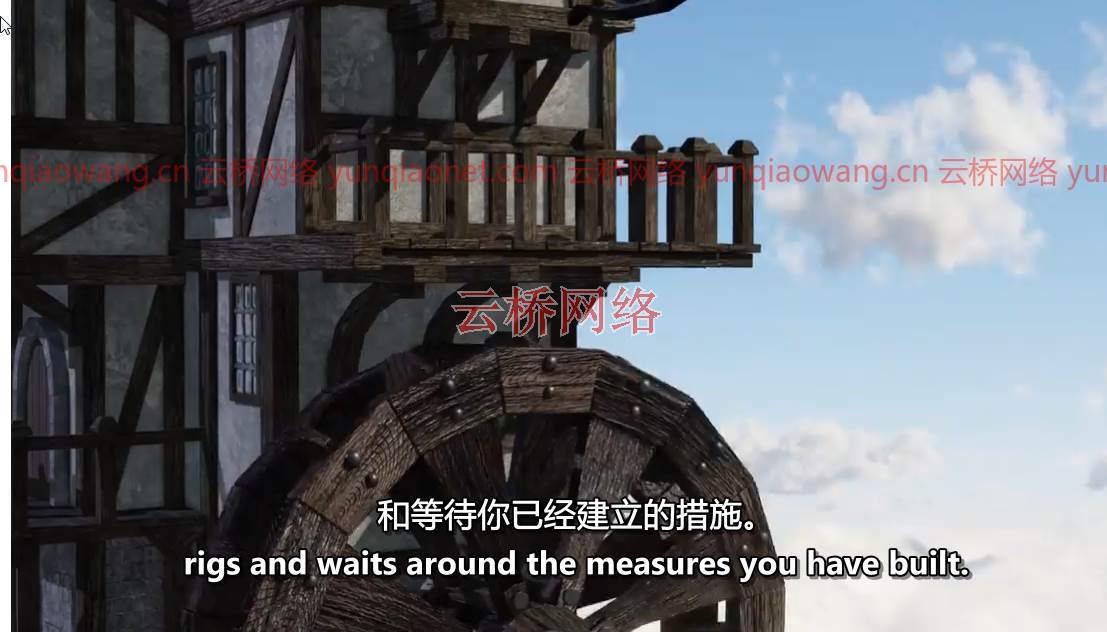
我们的3D建模重点将是为我们的风车创建逼真且功能齐全的子组件。这将包括一套复杂的木制支架、阳台、楼梯、水轮和风车臂。
我们将使用曲线来创建一个特殊类型的木制支架以及我们的中世纪风车门把手。虽然看曲线不是本课程不可分割的一部分,但它对3D建模很重要,这将是Blender中可用功能的又一个亮点。
接近课程结束时,您将为我们的中世纪风车模型创建一个基础,以便坐在上面进行理想的投资组合拍摄。
纹理和材料
总的来说,《Blender到虚幻引擎5》将在一个地方为您提供强化学习,让您访问超过100个2k和4k纹理图。本课程还将教你使用这些纹理制作自己的材料的基础知识。
每一个单独的纹理包也有自己的虚幻引擎5 (UE5)版本,使这成为课程中有价值的一部分。最大的“Blender到虚幻引擎5”课程亮点之一将包括导入纹理和学习如何在UE5中充分利用它们。
“Blender到虚幻引擎5”将教你所有关于伽玛,色调,饱和度和一些世界Blender节点。
动画
我们将努力使所有的运动效果超真实,因为动画是这个“Blender到虚幻引擎5”课程的一部分。
您将学习如何使用关键帧将不同的动画输入到我们想要制作动画的部分。这些将包括我们中世纪风车的水车、风车臂和风车标志。
作为装配过程的一部分,您将学习如何称量骨骼的不同部分,以增加动画的真实感。
最后,使用Blender内置的摄影表和动画系统,您将能够将一个完全工作的风车导出到您选择的任何游戏引擎,包括Unity,如果您愿意的话。
照明和渲染
通过加入“Blender到虚幻引擎5”,你还将学习如何通过HDRI照明系统控制你的场景美学。
对于照明三维场景的完整介绍,我们还将涵盖所有内置的Blender照明功能。
我们还将为您希望上传完整模型的任何多媒体站点创建一个组合渲染。相信我,当我说这个模型不仅看起来专业,而且实际上会出现在成千上万的其他模型中。
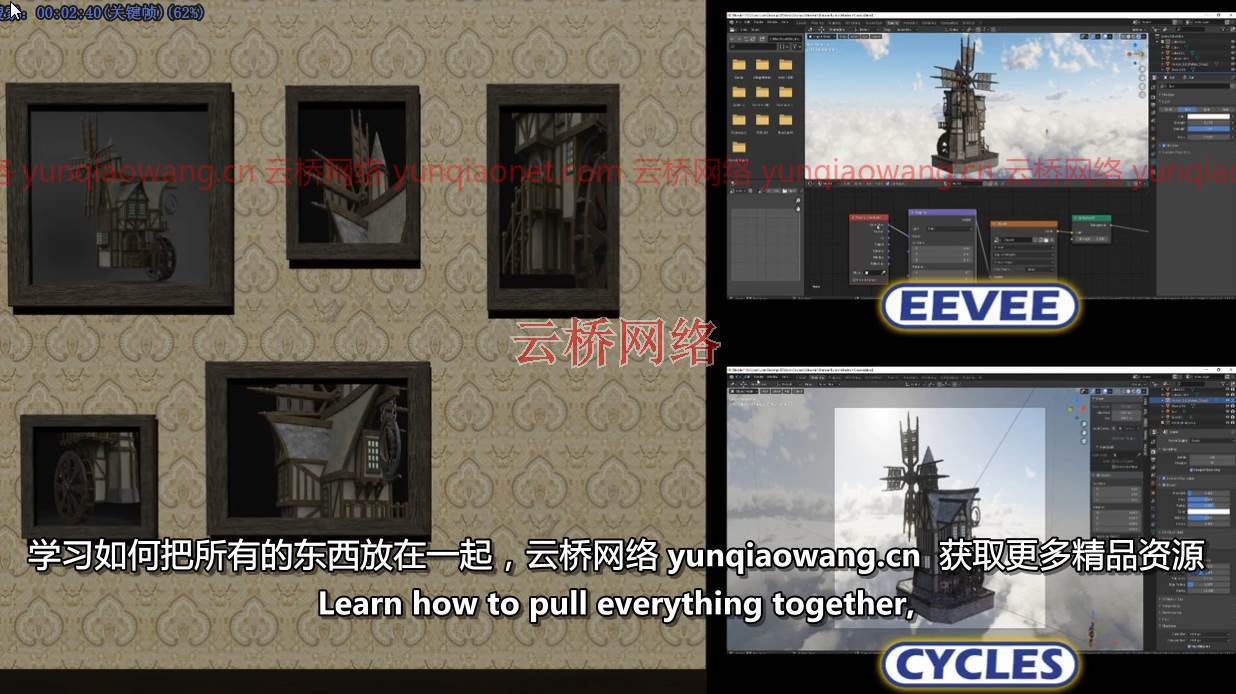
《Blender到虚幻引擎5》是使用Eevee进行照明、渲染、阴影、曝光和色彩管理的完整指南。
在Blender的循环渲染器渲染也将被讨论。我们还将在Eevee和Cycles中查看环境遮挡和开花,让您选择最适合您的Blender渲染器。
如果你认为中世纪客栈不错,那么这个中世纪风车将带你进入3D建模AAA资产的下一个层次。
虚幻引擎5:游戏引擎集成
我们将深入了解Epic全新的虚幻引擎5。如果您还没有下载它,并且还在使用UE4,请不要担心,因为您将在本节中学习的所有内容都可以在两者中使用。
通过“Blender到虚幻引擎5”,你将学习从Blender导入动画到在UE5中正确工作的一切。通过本课程,您将学习将游戏资产实时渲染的基础知识。
我们将看看如何导入和使用专门为虚幻引擎创建的纹理,并使用它们为我们的中世纪风车游戏资产创建材料。《Blender到虚幻引擎5》还将介绍如何设置文件来创建一个干净的用户界面。你在这里学到的技能完全可以转移到你未来的所有构建中。
3D建模从初级水平一直到世界各地许多顶级游戏公司的专业人员使用的技术;
制作结构精确的中世纪水车的动画;
中世纪风车臂的动画;
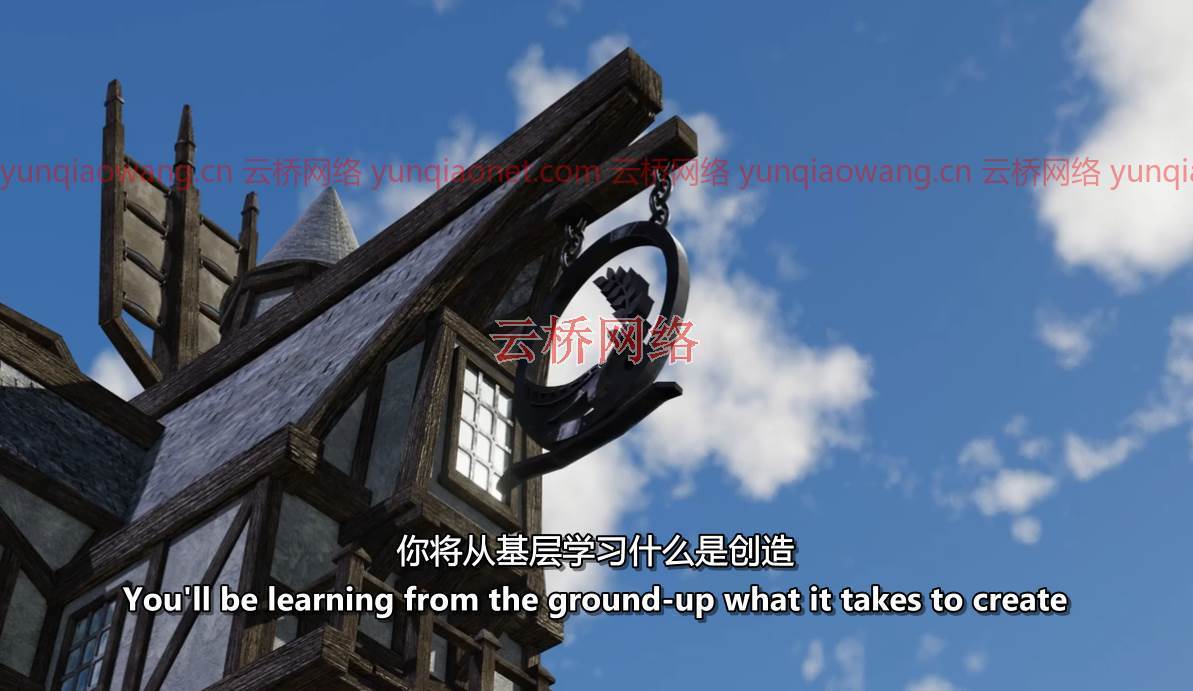
使用SVG为建筑物创建金属标志;
学习如何使用HDRI照明;
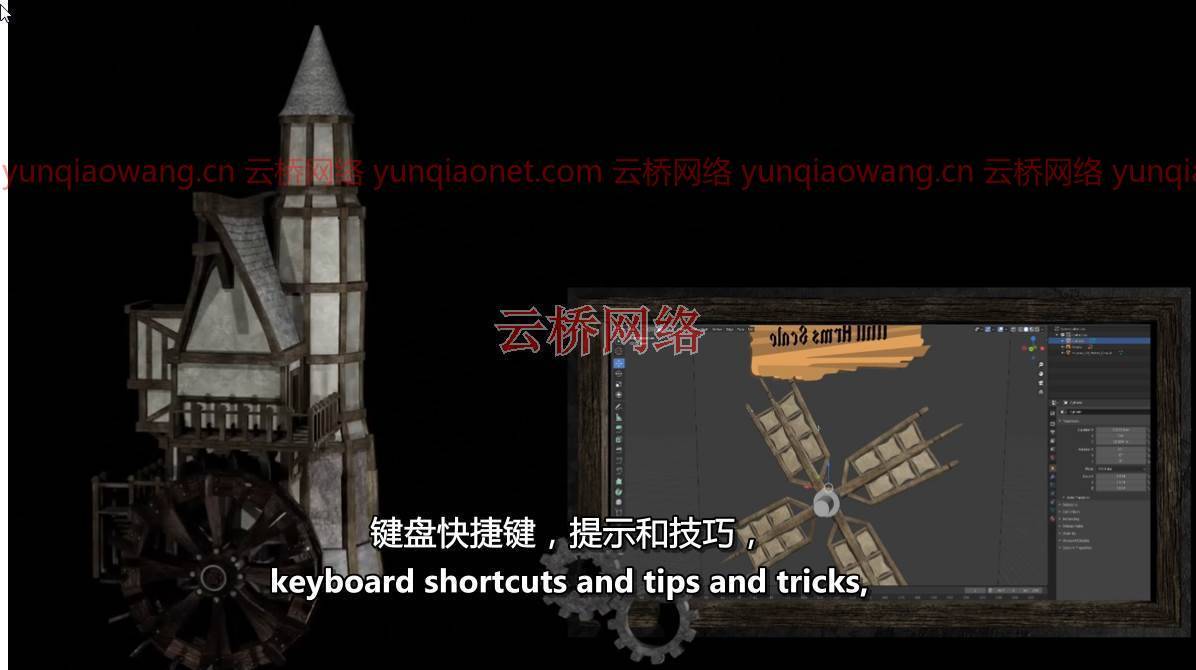
整个学习过程中的动画和关键命令;
-访问一门课程中的3门课程,包括关于(a)Blender基础知识,(b)材料和纹理,以及接缝、锐利和UV的完整课程。
让我们重建我们中世纪对风车的幻想,想象自己在日落时坐在一片宁静的水域旁。
在这个充满挑战的时代,多么完美的虚拟逃避啊…
课程目录:
01.虚幻引擎5简介Blender
02.Blender到虚幻引擎课程布局
03.正确掌握基本知识
04.使用引用
05.启动风车灰盒
06.什么是接缝和尖锐
07.小心挤压
08.尺寸和接地我们的灰盒
09.完成灰色盒子
10.重置转换的重要性
11.使用纹理和节点
12.创造我们的第一材料
13.与布尔人一起工作
14.固化2D飞机
15.一种创造木支架的创造性方法
16.使用不同的转换
17.创建真实的木材接缝
18.轻松创造独特的UV
19.HDRI &伊维渲染器
20.和斯通一起工作
21.在混合器中更改着色器
22.创建窗口和投射UV
23.销售线索和窗格创建
24.玻璃在我们窗户上的应用
25.规划风车臂
26.布置臂支柱
27.风车臂准备材料
28.使用布料和比例编辑
29.神奇的圆环
30.创造现实主义的布帆网
31.创建孔和链接
32.使用镜子
33.转向机构的工程化
34.什么是结构合理的
35.测试复杂接缝
36.完成风车臂
37.启动主车顶
38.创建木制倾斜支架
39.向主屋顶添加材料
40.屋顶瓦片的真实感
41.需要大量支持
42.沿途修复网格问题
43.完成主小支撑网
44.完成主屋顶
45.评估如何创造一些东西
46.在我们的小屋顶上工作
47.完成我们的小屋顶
48.提炼灰盒
49.使用支持向量机
50.将曲线转换为网格
51.完成标志
52.创建标志链接
53.带有木材的中世纪氛围
54.创建主门占位符
55.创建门壁龛
56.加快我们的工作流程
57.创建小窗口扩展
58.制定我们的人行道布局
59.完成窗口扩展
60.使用复杂网格
61.对我们延期的现实支持
62.提高建模效率
63.如何使用边长
64.增加复杂性
65.使用平均岛屿比例
66.创造阳台
67.创建阳台支撑
68.修复网格问题的简单方法
69.开始我们的水车制造
70.带接缝的前瞻性思考
71.创建简单螺栓
72.完成外侧车轮
73.打造中柱
74.创造石头开口
75.如何创建拱形支架
76.完成阳台支撑
77.轻松创造门
78.创造石拱形门
79.曲线的控制柄
80.完成门把手
81.启动主坡道
82.创建基地
83.使用数组
84.构建复杂的支持系统
85.创建支柱
86.把这一切结合在一起
87.微调UV贴图
88.完成主坡道接缝
89.完成风车的侧面
90.布置凸窗灰盒
91.石墙底的应用
92.批判性分析我们的构建
93.启动凸窗构建
94.许多玻璃问题
95.处理凸窗框架
96.凸窗的顶部和底部
97.完成风车建造
98.为我们的风车创造一个基地
99.设置我们的作品集渲染
100.Eevee & Cycles渲染
101.欢迎来到动画
102.动画工作流程
103.加权骨骼和关键帧
104.设置我们的动画
105.欢迎来到虚幻引擎5
106.在虚幻引擎5中创建素材
107.应用材料和测试
108.最后一课现实的游戏资产
Blender to Unreal Engine 5
MP4 | Video: h264, 1280×720 | Audio: AAC, 44100 Hz
Language: English | Size: 18.4 GB | Duration: 20h 55m
Would you like to learn how to model a windmill reminiscent of medieval times and breathe life into that fantasy by importing it into a game engine?
Now, what if I told you I have a course to do just that on Skillshare?
‘Blender to Unreal Engine 5’ will see you creating an intricate medieval asset requiring mechanical knowledge full of life through 3D animation.
This course will give you access to just over 21 hours of 3D art.
Learn how to build an intricate medieval windmill and watermill hybrid in 107 lessons.
This course will see you learn all the techniques pros use and how they use them. Unreal Engine integration will also be a central part of this course’s learning objectives.
Through reading this course description you will find out:
– What you want to learn about 3D modelling;
– What you are going to get through ‘Blender to Unreal Engine 5’, and;
– How the course will take your 3D skills to the next level.
Modeling
This course will be your complete pathway from concept to game engine in a way that we haven’t done before.
Our 3D modelling focus will be on creating realistic and fully functional subcomponents for our windmill. This will include an intricate set of wooden supports, balconies, stairs, a water wheel, and windmill arms.
We will be using curves to create a special type of wooden support as well as for our medieval windmill door handles. Although looking at curves is not an integral part of this course, it is important for 3D modelling and this will be another feather in your cap of available features within Blender.
Near the end of the course, you will be creating a base for our medieval windmill model to sit on for an ideal portfolio shot.
Texturing and Materials
All in all, ‘Blender to Unreal Engine 5’ will provide you with intensive learning all in one place, giving you access to over 100 2k and 4k texture maps. This course will also teach you the basics of making your own materials using these textures.
Every single texture pack also has its own Unreal Engine 5 (UE5) version, making this a valuable part of the course. One of the biggest ‘Blender to Unreal Engine 5’ course highlights will include importing textures and learning how to fully utilise them within UE5.
‘Blender to Unreal Engine 5’ will teach you all about the gamma, hue, saturation, and some world Blender nodes.
Animation
We will be working on making all motion effects hyper-real because animation is integral to this ‘Blender to Unreal Engine 5’ course.
You will learn how to use keyframes to key in different animations to the parts we want to animate. These will include our medieval windmill’s water wheel, windmill arms, and windmill sign.
As part of the rigging process, you will learn how to weigh the different parts of the bones to add realism to your animation.
Finally, using Blender’s in-built dope sheet and animation system, you will be able to export a fully working windmill to any games engine of your choice, including Unity, if you prefer.
Lighting & Rendering
By joining ‘Blender to Unreal Engine 5’, you will also learn how to take control of your scene’s aesthetics through an HDRI system for lighting.
For a full introduction to lighting 3D scenes, we will also cover all in-built Blender lighting functionalities.
We will also be creating a portfolio render for any multimedia site you wish to upload your completed model to. Trust me when I say that this model will not only look professional but will actually pop up amongst thousands of other models.
‘Blender to Unreal Engine 5’ is a complete guide into using Eevee for lighting, rendering, shadows, exposure, and colour management.
Rendering in Blender’s Cycles renderer will be discussed as well. We will also be looking at ambient occlusion and bloom within Eevee and Cycles, allowing you to choose the Blender renderer that is best for you.
If you thought the medieval inn was good, then this medieval windmill will take you to the next level of 3D modeling AAA assets.
Unreal Engine 5: Game Engine Integration
We will be taking a deep dive into Epic’s all-new Unreal Engine 5. Do not worry if you have not managed to download it and are still working with UE4 because everything you will learn in this section can be used in both.
Through ‘Blender to Unreal Engine 5’ you will be learning everything right from importing animations from Blender to having them work correctly in UE5. Through this course, you will learn the basics of bringing your game asset to life, rendered in real-time.
We will look at how to import and use textures created specifically for Unreal Engine and use them to create the materials for our medieval windmill game asset. ‘Blender to Unreal Engine 5’ will also be an introduction to how to set up files to create a clean UI. The skills you learn here are fully transferable to all of your future builds.
Course Resources & Freebies
The ‘Blender to Unreal Engine 5’ course resource pack over 100 2k and 4k texture maps with UE5 versions of each file.
The best course navigation tool for ‘Blender to Unreal Engine 5’ will be included. The course handbook will give the control back to you and you will be able to fully streamline your learning process to your needs and wants seamlessly.
Join this course and come be part of a 3D modeling journey of over 21 hours of learning.
Check out the free introduction and I am sure you won’t be able to put this course down!
Still unsure? Then, let me tell you what’s unique about this course:
3D modeling from a beginner level right up to techniques used by professionals around the world in many top games companies;
animating a structurally accurate medieval water wheel;
animating medieval windmill arms;
creating metal signs for buildings using SVGs;
learning how to use HDRI lighting;
animations & key commands throughout the learning process;
– accessing 3 courses within a course, including full lessons on (a) Blender basics, (b) materials and textures, and © seams, sharps, and UVs.
Let’s rebuild our medieval fantasy of a windmill and picture ourselves next to a serene body of water at sunset.
What a perfect virtual escape during these challenging times…
Until next time, happy modelling everyone!
01. Introduction Blender to Unreal Engine 5
02. Blender to Unreal Engine Course Layout
03. Getting the Basics Right
04. Working with References
05. Starting the Windmill Greybox
06. What are Seams & Sharps
07. Being Careful with Extrude
08. Dimensions and Grounding our Greybox
09. Finishing the Greybox
10. The Importance of Resetting transformations
11. Working with Textures & Nodes
12. Creating our First Material
13. Working with Booleans
14. Solidifying 2D Planes
15. A Creative Way to Create Wooden Supports
16. Working with Different Transforms
17. Creating Realistic Wood Joints
18. Creating Unique UVs the Easy Way
19. HDRI & the Eevee Renderer
20. Working with Stone
21. Altering Shaders in Blender
22. Creating Windows & Projecting UV’s
23. Lead & Pane Creation
24. Applying Glass to our Windows
25. Planning out the Windmill Arms
26. Laying out the Arm Struts
27. Windmill Arms Prep for Materials
28. Working with Cloth & Proportional Editing
29. The Amazing Torus
30. Creating Realist Cloth Sail Mesh
31. Creating Holes & Links
32. Working with Mirrors
33. Engineering the Turning Mechanism
34. What is Structurally Sound
35. Testing Complex Seams
36. Finishing the Windmill Arms
37. Starting the Main Roof
38. Creating the Wooden Sloping Supports
39. Adding Materials to the Main Roof
40. Realism with Roof Tiles
41. Lots of Supports Needed
42. Fixing Mesh Issues Along the Way
43. Finishing the Main Small Support Mesh
44. Finishing the Main Roof
45. Taking Stock of How to Create Something
46. Working on our Smaller Roof
47. Finishing our Small Roof
48. Refining the Greybox
49. Working with SVGs
50. Converting Curves to Mesh
51. Finishing the Sign
52. Creating the Sign Links
53. Medieval Atmosphere with Wood
54. Creating the Main Door Place Holder
55. Creating a Door Alcove
56. Speeding up our Workflow
57. Creating the Small Window Extension
58. Working out our Walkway Placement
59. Finishing the Window Extension
60. Working with Complex Meshes
61. Realistic Support for our Extension
62. Increasing Efficiency in Modelling
63. How to use Edge Length
64. Increasing the Complexity
65. Using Average Island Scale
66. Creating the Balcony
67. Creating the Balcony Supports
68. Easy Ways to Fix Mesh Problems
69. Starting our Water Wheel Build
70. Forward Thinking with Seams
71. Creating Simple Bolts
72. Finishing the Outside Wheel
73. Creating the Centre Pillar
74. Creating the Stone Opening
75. How to Create Arched Supports
76. Finishing the Balcony Supports
77. Creating Doors the Easy Way
78. Creating the Stone Arched Door
79. Handles From Curves
80. Finishing the Door handles
81. Starting the Main Ramp
82. Creating the Base
83. Working with Arrays
84. Building a Complex Support System
85. Creating the Supporting Posts
86. Bringing it All Together
87. Fine Tuning the UV Maps
88. Finishing the Main Ramp Seams
89. Finishing the Side of the Windmill
90. Laying out the Bay Window Greybox
91. Applying the Stone Wall Bottom
92. Critically Analysing our Build
93. Starting the Bay Window Build
94. Lots of Glass Issues
95. Working on the Bay Window Frame
96. Top & Bottom of our Bay Window
97. Completing the Windmill Build
98. Creating a Base for our Windmill
99. Setting up our Portfolio Render
100. Eevee & Cycles Rendering
101. Welcome to Animation
102. The Animation Workflow
103. Weighting Bones & Keyframes
104. Setting Up our Animations
105. Welcome to Unreal Engine 5
106. Creating Materials in Unreal Engine 5
107. Applying Materials & Testing
108. Final Lesson A Realistic Game Asset
云桥网络 为三维动画制作,游戏开发员、影视特效师等CG艺术家提供视频教程素材资源!
1、登录后,打赏30元成为VIP会员,全站资源免费获取!
2、资源默认为百度网盘链接,请用浏览器打开输入提取码不要有多余空格,如无法获取 请联系微信 yunqiaonet 补发。
3、分卷压缩包资源 需全部下载后解压第一个压缩包即可,下载过程不要强制中断 建议用winrar解压或360解压缩软件解压!
4、云桥网络平台所发布资源仅供用户自学自用,用户需以学习为目的,按需下载,严禁批量采集搬运共享资源等行为,望知悉!!!
5、云桥网络-CG数字艺术学习与资源分享平台,感谢您的关注与支持!
