

时长:3h 27m | MP4 |视频:AVC,1280×720 30 fps|大小:963MB 含课程素材及工程文件
技能水平:中级|体裁:在线学习|语言:英语+原英文字幕+中文字幕翻译(机译)
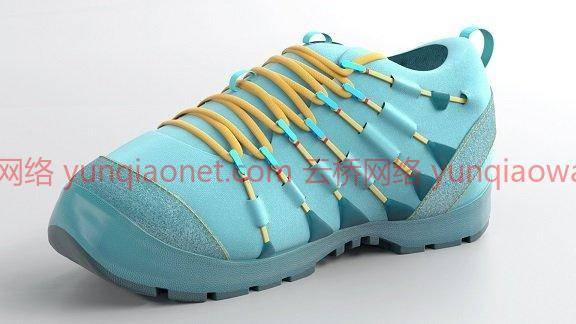
在本课程中,这是一个由两部分组成的系列的第一部分,学习如何使用Modo从头开始为鞋子建模,Modo是一个强大的三维建模、渲染和建模平台纹理。Modo为艺术家提供一个强大的3D平台,用于建模、渲染、纹理和动画制作。在由两部分组成的Modo产品可视化系列中,讲师Richard Yot使用从头开始渲染鞋子的过程来介绍使Modo不同于其他3D工具的关键概念,以及建模、照明和渲染漂亮3D对象的关键工作流。本课程是本系列的第一部分,Richard将带领您完成原型制作,从导入草图到使用cel着色渲染原型。由于这个示例项目是为鞋建模,因此他将向您展示如何为鞋底建模,包括为鞋底指定材质。一旦鞋底成型,他就开始对主要形状进行建模和加厚,然后是面板。下一步,理查德将介绍如何建模,编辑和添加细节的花边持有人和鞋带。此外,他还展示了如何使用UV映射展开您所建模的内容。进入本系列的下一期,学习如何呈现在本课程中开始的项目。
01从模型到完成的鞋子设计
02导入草图和创建背景
03挡住主鞋型
04细化主要形状
05雕刻主鞋的形状
06挡住鞋底
07表格定稿
08原型网格的UV贴图
09投影画鞋和鞋底
10使用cel着色的原型渲染
11规划拓扑
12重新修饰底面
13重新修饰侧面
14创建程序斜面
15转换为子边和硬化边
16创造洞
17分配材料
18重组学
19创造袖子
20加厚
21塑造舌头
22场景组织
23趾板
24鞋跟面板
25侧面板
26制作基本蕾丝支架
27复制形状
28挤压鞋带夹
29创建眼孔
30复制眼孔
31创建连接眼孔和底部鞋带的环
32使用钢笔工具和拓扑工具绘制鞋带
33弥合差距
34模拟结尾
35按程序挤压鞋带
36编辑鞋带
37创建后手柄
38创建舌夹
39添加缝线细节
40创建卷曲的蕾丝手柄
41复制鞋带环
42 UV贴图鞋底
43 UV贴图主要形状
44 UV绘制眼孔
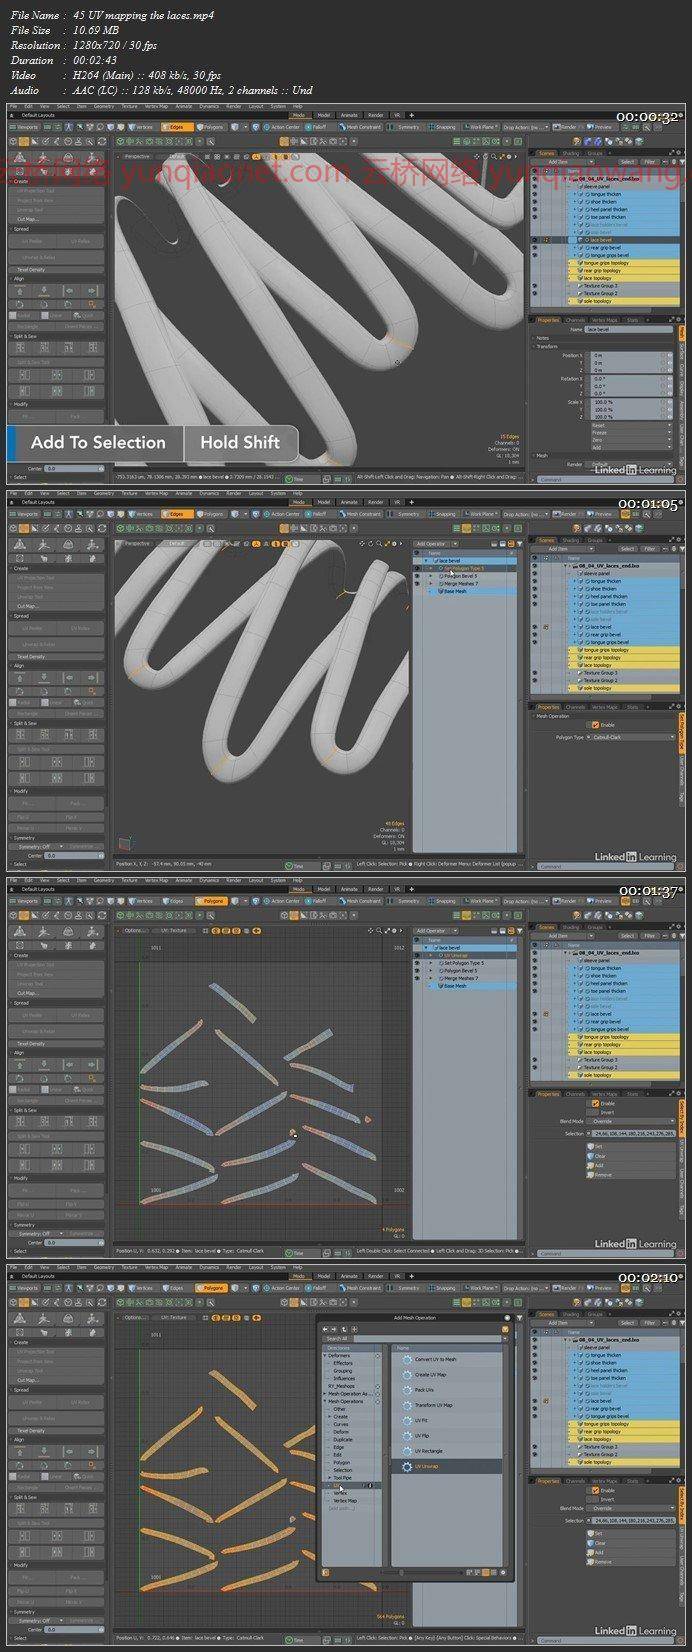
45 UV贴图鞋带
46面板的UV贴图
47接下来的步骤
Duration: 3h 27m | MP4 | Video: AVC, 1280×720 30 fps | Audio: AAC, 48 KHz, 2 Ch | Size: 869 MB
Skill Level: Intermediate | Genre: eLearning | Language: English + Subtitles
In this course, the first installment in a two-part series, learn how to model a shoe from scratch using Modo, a powerful platform for 3D modeling, rendering, and texturing.Modo gives artists a powerful 3D platform for modeling, rendering, texturing, and animating. In the two-part Modo Product Visualization series, instructor Richard Yot uses the process of rendering a shoe from scratch to introduce key concepts that make Modo different from other 3D tools, as well as key workflows for modeling, lighting, and rendering beautiful 3D objects. In this course, the first installment in the series, Richard walks you through prototyping, from importing sketches to rendering a prototype with cel shading. Since this example project is modeling a shoe, he then shows you how to model the sole, including assigning materials to it. Once the sole is modeled, he moves on to modeling and thickening the main shapes, then the panels. Next, Richard covers how to model, edit, and add details to the lace holders and the shoelaces. Plus, he shows how to unwrap what you’ve modeled using UV mapping. Tune into the next installment in this series to learn how to render the project you started in this course.
01 Shoe design from model to completion
02 Importing sketches and creating backdrops
03 Blocking out the main shoe shape
04 Refining the main shape
05 Sculpting the form of the main shoe
06 Blocking out the sole
07 Finalizing the forms
08 UV mapping the prototype meshes
09 Projection painting the shoe and the sole
10 Prototype rendering Using cel shading
11 Planning the topology
12 Retopologizing the underside
13 Retopologizing the sides
14 Creating a procedural bevel
15 Converting to subD and hardening edges
16 Creating the hole
17 Assigning materials
18 Retopology
19 Creating the sleeves
20 Thickening
21 Modeling the tongue
22 Scene organization
23 Toe panel
24 Heel panel
25 Side panels
26 Creating the basic lace holder
27 Duplicating the shape
28 Extruding the lace holder
29 Creating the eyelets
30 Duplicating the eyelets
31 Creating the loops that connect the eyelets to the bottom laces
32 Drawing the laces with the Pen tool and the Topology tool
33 Bridging the gaps
34 Modeling the ends
35 Extruding the laces procedurally
36 Editing the laces
37 Creating the rear grip
38 Creating the tongue grips
39 Adding stitching detail
40 Creating the crimped lace grips
41 Duplicating the lace loops
42 UV mapping the sole
43 UV mapping the main shape
44 UV mapping the eyelets
45 UV mapping the laces
46 UV mapping the panels
47 Next steps
云桥网络 为三维动画制作,游戏开发员、影视特效师等CG艺术家提供视频教程素材资源!
1、登录后,打赏30元成为VIP会员,全站资源免费获取!
2、资源默认为百度网盘链接,请用浏览器打开输入提取码不要有多余空格,如无法获取 请联系微信 yunqiaonet 补发。
3、分卷压缩包资源 需全部下载后解压第一个压缩包即可,下载过程不要强制中断 建议用winrar解压或360解压缩软件解压!
4、云桥网络平台所发布资源仅供用户自学自用,用户需以学习为目的,按需下载,严禁批量采集搬运共享资源等行为,望知悉!!!
5、云桥网络-CG数字艺术学习与资源分享平台,感谢您的关注与支持!
